How to calibrate your fertiliser spreader for grass

With fertiliser prices at record levels, making sure your fertiliser spreader is correctly maintained and calibrated for grassland applications has never been more important. Mark Tucker from Yara gives some tips
The financial losses from operating a poorly maintained spreader are probably higher than you think. If you were spreading 34.5% N fertiliser at £285/t and your Coefficient of Variation (ie, the amount of variation across the bout width of the spreader) is up at the 30% mark, that is a financial loss of £17/ha in reduced grass dry matter yield.
Not only does dry matter yield drop with poor spreading, but grass quality goes down, too.
As an example, poor quality first-cut silage could see a yield of 5.86t/ha, with metabolisable energy (ME) levels 3516MJ/ha lower than they should be. Work that through to milk yield loss from poor ME values and you could see the potential milk lost amounting to as much as 639 litres/ha.
Incorrect spreader height, worn vanes and worn bearings are common causes of poor spreader performance.

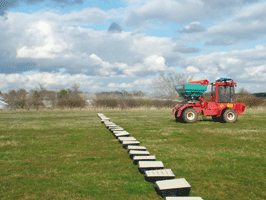
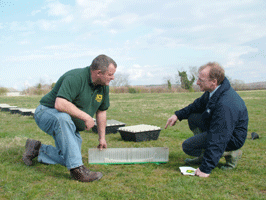
A tray test will reveal variations across the spread width.

This test showed over-application in the outer part of the spread width
Even a brand new fertiliser spreader will need calibrating. Do a tray test and you may well find that the initial settings result in a CV of 30%. At a target fertiliser rate of 300kg/ha, the outer areas of the bout width will be receiving nearer 400kg/ha. Severe striping will be the result.
With some simple adjustments, you should be able to get an even spread pattern across every hectare, meaning consistent results in terms of yield and quality. A badly set-up spreader is also an environmental risk when it comes to fulfilling the Nutrient Management Plan in your ELS scheme.
* Yara is partnering the RASE at this year’s Grassland and Muck 2008 event

