
Drill rebuild gives grower isobus-ready Vaderstad for sub-£10k
 © Jamie Hawkins
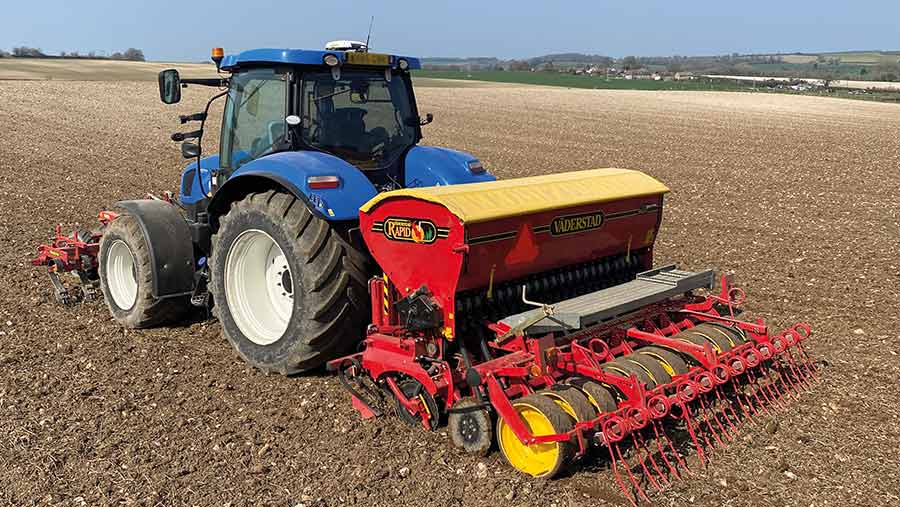
 With new machinery costs soaring, Dorset mixed farmer Jamie Hawkins decided to give his ageing 3m Vaderstad 30 mounted drill a major spruce up.
As well as replacing the soil working components, he fitted an isobus conversion kit and job computer to run the system through the screen of his New Holland tractor.
Here, he explains why and how he did it.
See also: Ultimate Guide to buying a direct disc drill 2023
Farm facts: Bradford Peverell Farm, Dorchester
- Area: 100ha which includes 80ha arable and 20ha water meadows
- Cropping: Wheat, barley and lucerne for silage
- Livestock: Aberdeen Angus finishers
- Soil type: Chalky loams
What is the drill?
It’s a Vaderstad 30S, essentially a mounted Rapid, which is pretty rare.
Mine is 20 years old – it was looking tired when I bought it 12 years ago and it’s since done another decade’s work. Eventually, it fell to bits.
I’ve always really liked it, as it’s light and copes well with most ground conditions. When it can’t work, it’s basically too wet for anything to grow.
Seed placement is reliable and, because it’s a little bit quirky, I’ve managed to bag a few contracting jobs off the back of it.
I can travel on wet fields when others can’t, and I’ve done plenty of stitching grass seed into existing swards, plus wildlife or game cover strips where people’s trailed drills are just too big for the job.
Did you consider buying new?
I thought about it, but the price of other options put me off. Alternatively, I could have gone into the second-hand market and got something older – and bought myself a new set of problems.
There are plenty of trailed drills in the area but they have a habit of hanging down the slopes, and can end up with 1m misses between passes on steeper ground. I like things to be tidy and the Vaderstad 30S drill achieves that.
I also know it well and I’m geared up to get the best from it.
I have a front linkage-mounted tiller that leads the way to lightly cultivate and level the seed-bed, which I prepare with a 3m New Holland ST300 tine cultivator. The front tiller also helps keep the whole rig stable when drilling.
It runs on a New Holland T6.160 with loader. It’s a universal machine for all jobs, so I can also clean the cattle sheds out with it, and do all the baling and wrapping.
Plus, it’s nice and nimble around the yard with trailers.
The power is ample for my acreage, too. If I was to go to a wider drill, I’d need a bigger tractor which, for my 80ha of arable land, doesn’t really stack up.
Where did you start?
Everything was stripped down, then I made a list of all the parts that needed to be replaced and ones that could be repaired.
I didn’t cut any corners – all were genuine Vaderstad components sourced from TH White at Devizes.
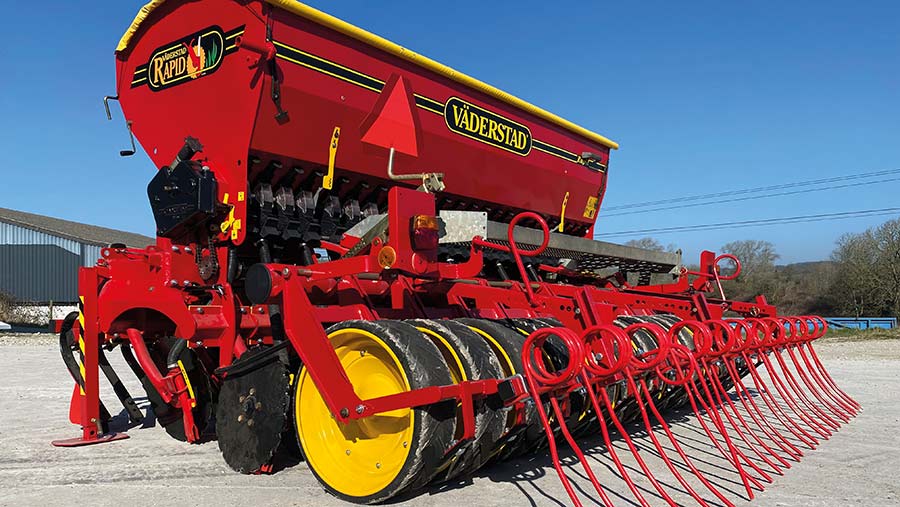
The discs, coulters and bearings were all pretty worn so they were updated, as was the set of following harrow tines.
The tine beam has always been a weak point, so I switched to the newer type tines that can be mounted onto 40mm box section.
Also on the shopping list was a set of wheel axle bushes and some new decals to stick on once painted.
As soon as it was in bits, I sorted out the chassis. The coulter carriage had completely cracked and broken away from the main frame, so I re-welded it to the best of my abilities and added stress plates to take some of the strain.
All the other components were in pretty good shape, apart from worn outer rims on the wheels.
As the wheels only appear to come with new tyres and are expensive, I repaired the originals by rolling 8mm rod into rings and welding them around the outside of the rims.
I used a local powder coating company to paint the chassis. The original paint was burnt off in a heat oven, cleaned in a blast room to remove any residue and it was then given a quick coat of etch primer.
Everything was powder coated, which was baked on before being nicely wrapped and returned looking like new.
The new Vaderstad colour is RAL 3002, but an original unfaded part of the drill showed the colour was BS 538, so I opted to keep it the original.
The yellow parts were painted with RAL 1003 and the jet-black was RAL 9005.
© Jamie Hawkins
Why go for isobus?
A new land wheel was £800, which put me off replacing that.
There are two companies that sell isobus kits for drills, turning mechanical wheel driven machines to motor driven units controlled by the tractor.
One of them is Soil Essentials in Scotland, which sells Muller systems.
It had never supplied one for a DIY job before I got in touch – usually, they sell locally and and an in-house fitter sets it up. I had to do some convincing to get one down to Dorset.
When I bought the T6.160, GPS guidance was part of the deal, so I was already interested in improving the precision of my work.
The key things for me are pass-to-pass accuracy and auto shut-off at the headland. With our relatively large fields comes plenty of variability in soil types, from puffy chalks to clay caps.
Given that, I think we will get a big advantage from variable rate seeding maps.
I’m currently in the process of getting all our fields mapped and should have the variable rate function up and running next year.
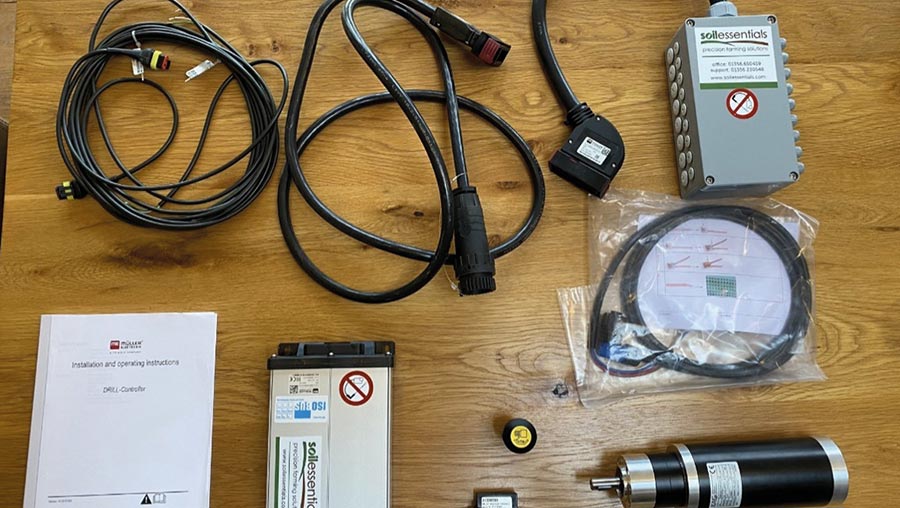
Muller system © Jamie Hawkins
Was it easy to install?
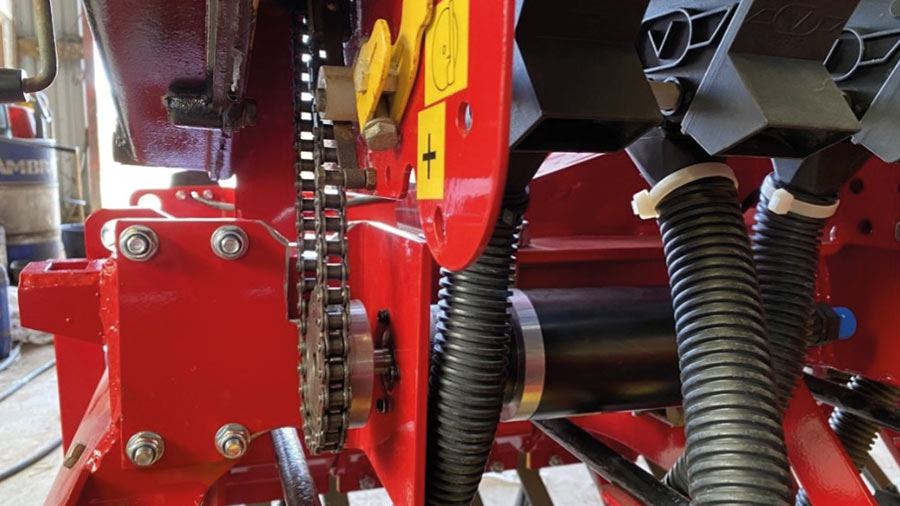
It was relatively simple. The biggest headache was working out how to get the new electronic drive to the metering shaft.
After looking at several options, I took the easiest route and ran it through the original variable speed gearbox.
We have a particularly good local company that sketched it all out and put the assembly onto CAD, before laser cutting and folding a motor mounting bracket.
It was simply connected to the existing land wheel sprocket. While this had the potential to cause speed variation issues, I haven’t noticed any problems while using the drill this spring.
Soil Essentials was concerned about the motor’s ability to drive the metering shaft on a box drill, so I had to measure the torque requirements.
This was a bit of a challenge, but I established the motor has a start-up torque of 7.2Nm. It was close to the limit but, with the correct gearing, proved itself capable and works very well.
The job computer, and junction box that connects it to the various sensors and actuators, were positioned underneath the hopper.
Having had the drill for so long, I knew the spots that don’t get dirty and would be kind on the electronics.
The inputs are radar speed and hitch position, plus tank level, motor speed and a motor run switch for calibration. Outputs are for the tramline clutches and drive motor.
© Jamie Hawkins
Any issues?
I’d tested most things on the drill before using it for the first time, except whether the “hydraulics raised” signal from the isobus kit was switching the drill on and off.
After calibrating it, I went out to the field and discovered that the motor ran when the drill was raised, but as soon as it was lowered, the motor stopped.
I tried some solutions myself but ended up giving in and calling Soil Essentials. It turned out that, to get the most out the system, I needed to unlock the “task controller” on the tractor’s Intelliview 4 screen.
I took the 10-day free trial, got things set up and the tractor and implement were soon talking to each other as they should. I’ve since spent £500 to get it unlocked for good.
Unexpectedly, Soil Essentials has since sent me a new ISO11786 lead containing a chip to convert the linkage signal, which will allow me to use it on the tractor without task controller if the need arises.
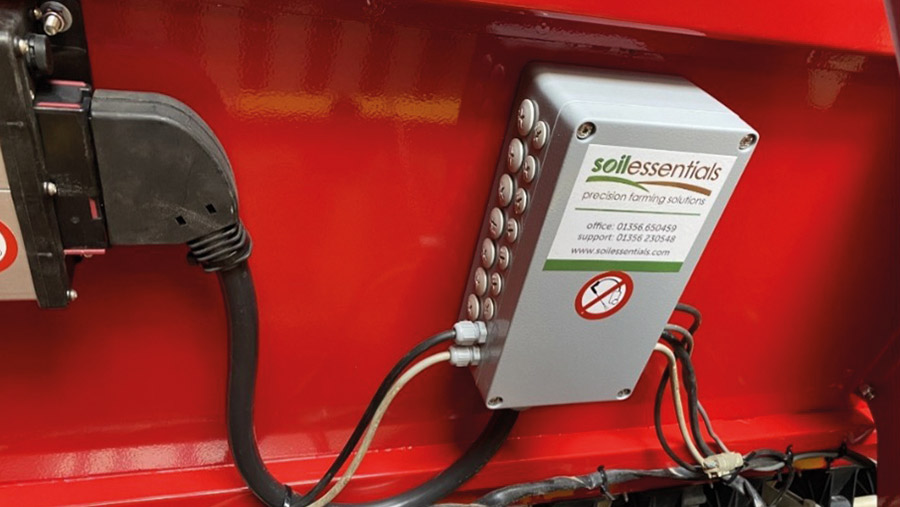
The junction box connects the job computer to various sensors and actuators © Jamie Hawkins
After those teething issues, it ran a treat until the end of spring drilling.
The sound of the drill changed from clattering and chattering to near-silence, with everything new and tight.
It has always been accurate, but we know we drill a greater area than fields actually are when doing it manually.
I set the working width with a 4% overlap and, taking that into consideration, the area and seed used was spot on accurate.
It’s much less fatiguing with the GPS guidance and I can now do longer days, which makes up for only having a 3m drill.
The other thing I have is Intelliturn, where the tractor swings round on the headland automatically, so it only leaves me to pick the drill up and down.
How much did it cost?
In August 2021, I paid £2,553 plus delivery for the isobus kit. It does vary, so the more functionality you want, the higher the price.
I was using some existing sensors and only wanted the basic features, which kept it at the lower end of the price scale.
All the new parts from Vaderstad, including discs, coulters, covering tines and various other broken parts, were £3,576.
The shot blasting and power coating was £3,510 and the extra brackets were £105. The sprocket and chain were £47. Nuts, bolts, steel, and consumables were £120.
Overall, the project cost £9,812, excluding my time, which I’d say was about 10 full days.
Would you have done anything differently?
No. At the end of the day, I’ve got a very nice machine that does the job, all for just under 10 grand.
