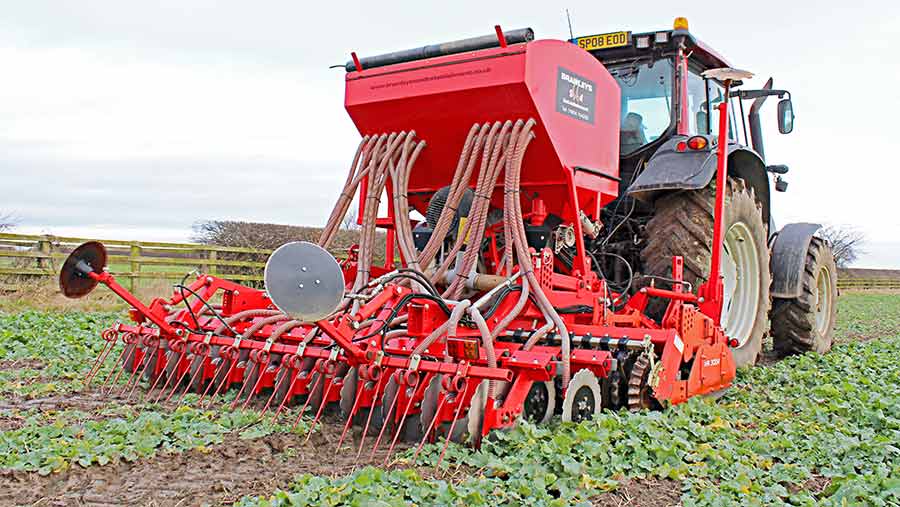
Yorks farmer builds his take on the power-harrow combi drill
 © James Andrews
 For farmers on smaller acreages, the versatile nature of the power harrow combination drill takes a bit of beating.
That’s why there are still scores of manufacturers developing and building new takes on the concept with ever-increasing levels of technology and optional extras.
But despite the choices on offer, Bolton Percy-based farmer Phil Bramley reckoned there was still room for improvement, particularly for those running smaller tractors.
Phil Bramley © James Andrews
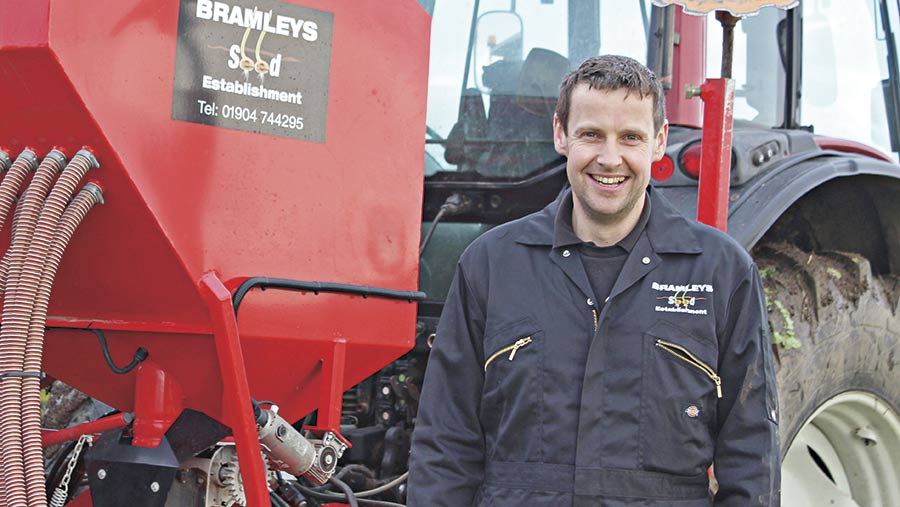
So when he came to replace his Suffolk-coultered drill back in 2013, he decided to build a machine to his own requirements.
It took a couple of years to perfect, but the final version of his Combi-plus drill combines a toolbar with cultivating legs at the front, a power harrow suspended in the centre with a Guttler Simplex 45 roller, and a set of Vaderstad Rapid disc coulters at the rear.
His 130hp Valtra can pull it happily with very little weight hanging on the front, and such was its success he decided to start building and selling the machines under the brand name Bramleys Seed Establishment. He’s also making and selling toolbars for a range of other drills, as well as carrying out conversions.
We caught up with Mr Bramley to find out a little more about his creations.
See also: Farmer builds £24,000 strip-till drill from scratch
Why build your own drill?
It all started in 2012 when we had a really wet autumn and struggled to get our crops established in decent conditions.
I’d spotted a neighbour using a toolbar in front of his combination drill – which did a great job of loosening the wet ground – but the fact it pushed the drill back nearly half a metre meant it needed a tractor with higher lift capacity and lots of extra weight on the front.
© James Andrews
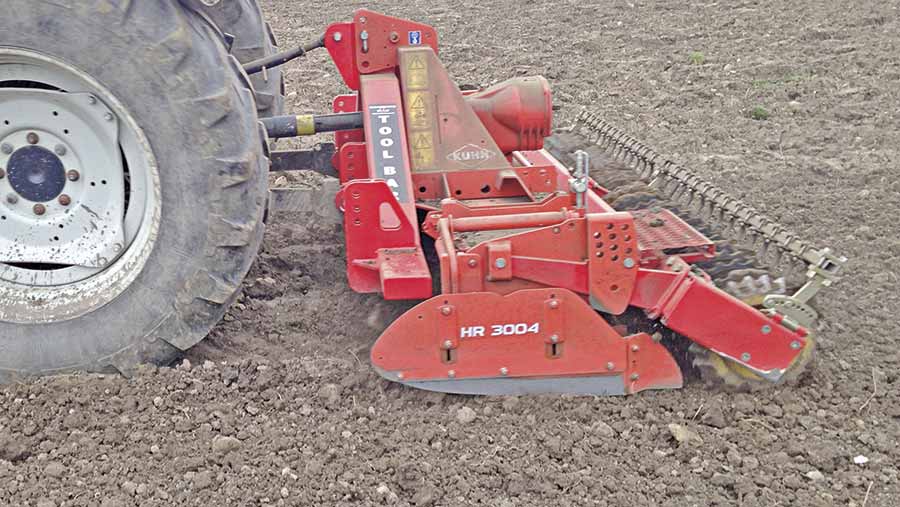
This would have been no good for the 130hp Valtra we had at the time, so that winter I set about building my own close-coupled toolbar that would keep the weight as near the rear linkage as possible.
As for the drill itself, we knew the Suffolk coulters we had been using weren’t up to the job so we went in search of something that would give better penetration.
We played around with different coulter designs, before settling on Vaderstad Rapid discs.
How did you come up with the toolbar design?
We tend to favour Kuhn power harrows and the design of the headstock meant we could bolt the toolbar frame straight to it, only pushing the drill back by 10cm.
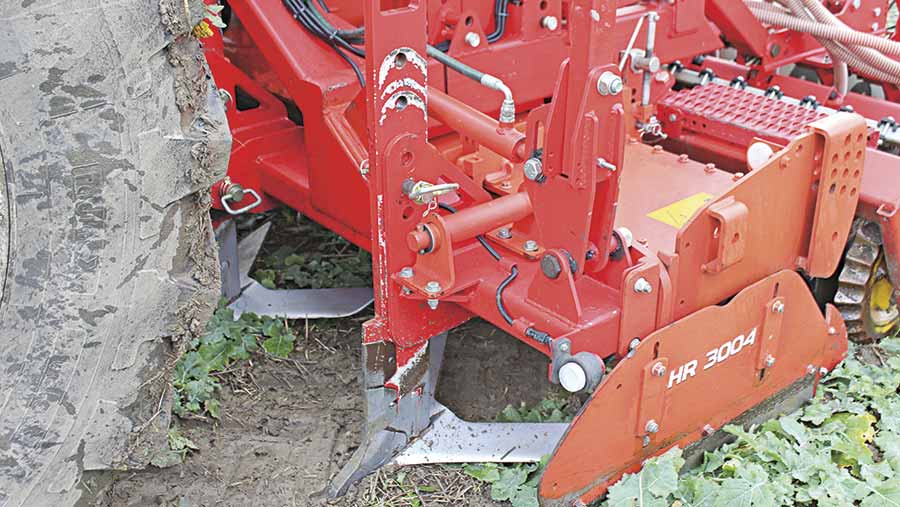
The frame itself was built out of 160x80mm box section and we welded the leg supports on the front, making use of the dead space between the tractor tyres and the front of the power harrow.
To start with we used Lemken Dolomite legs, but these wore out too fast and the fact the points were bolt-on meant we couldn’t rest the weight of the drill on them.
© James Andrews
Therefore, we approached JJ Metcalfe at Northallerton to produce a wide-winged version of their NG leg. With four legs fitted, the 525mm wings will move all soil across the drill’s width. We also fitted pin-and-hole adjusters, which means they can be set to just scratch the surface or bust up the ground to depths of up to 10in.
For the current Combi-plus drill, the whole of the drill frame is supported off the toolbar and the power harrow is carried underneath the frame with hydraulic rams for height adjustment. With this setup, the power harrow is bolted on through the trough, meaning we can ditch the headstock, saving a bit more weight.
Why use a Guttler roller?
We’ve always got on well with Guttler rollers in our mixed soils and the scrapers are much easier to set than they are on a packer roller.
There’s also a plastic version of the Simplex 45 available that’s 250kg lighter than the cast ones. This all helps in our weight-saving mission.
What made you choose Vaderstad discs?
For the first prototype we used a Weaving tine drill. This worked pretty well in ploughed ground and clean stubbles, but it blocked up when we tried it in trashier conditions.
We therefore turned our attentions to discs and looked at a few different makers’ offerings. Many of these were too complicated for our liking with parallel linkages full of pivots and bushes that would wear out. Generally, the discs were a bit on the thin side too.
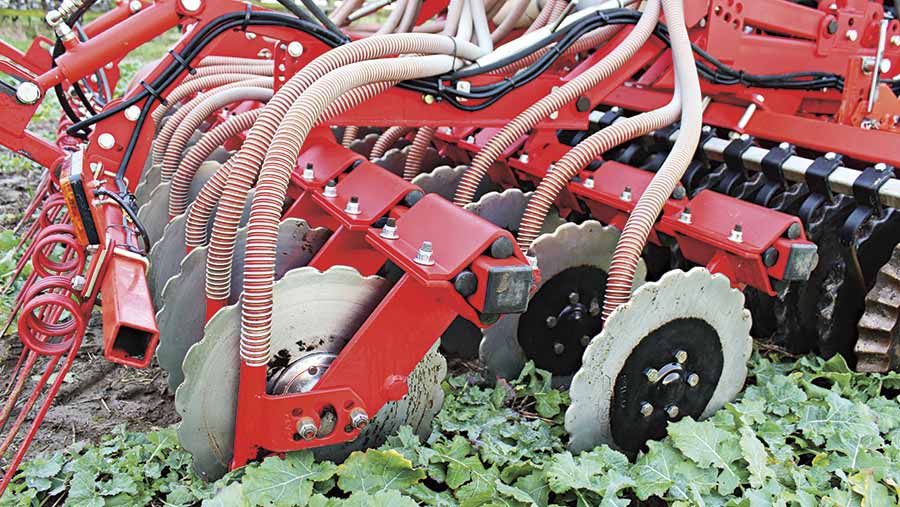
The Vaderstad coulters were the toughest looking of the lot, with a simple rubber mount and solid disc with a seed boot on the side. The main downside is the price, but through local dealer Charlie Lewis of Park Farm Machinery I managed to source some reconditioned units.
How did you attach the discs?
I wanted to keep the drill as simple as possible so mounted the 24 Vaderstad coulters in two rows and hung them off a box section frame.
© James Andrews
This frame pivots so the coulters can float over the ground, but there are also pin-and-hole adjusters to limit its movement and turnbuckles for adjusting the relative angle of the front and rear discs. This is particularly useful for the seed-and-fert version as you can drop the front discs in deeper when putting fertiliser under oilseed rape.
Also, by changing the coulter spacing (so the front and rear discs are in line) the fertiliser can be placed directly below the OSR seed, rather than at the side.
What about the hopper and metering system?
The first prototype used a KRM hopper, but now we make our own that’s designed to keep the weight as close to the tractor as possible.
The panels are folded by a local engineering firm and welded up in our workshop. We do a seed only version that’ll hold about 750kg of wheat, as a well as a seed-and-fert one with removable divider. The fertiliser side will hold 600kg, leaving plenty of space for OSR seed on the other.
Straight seed models have one Accord-style metering unit and distribution head, while the fertiliser version has two – the bigger side feeding the front discs and the smaller piped to the rear. A pto-driven fan then blows the seed and fert up to their individual distribution heads.
The receiver units are controlled using a simple RDS Artemis Lite system with GPS metering. This more than caters for our needs, but those wanting a few more bells and whistles can upgrade to the full Artemis system.
Where will it work?
The Combi-plus drill will work in lots of different conditions and situations depending on how you set it up.
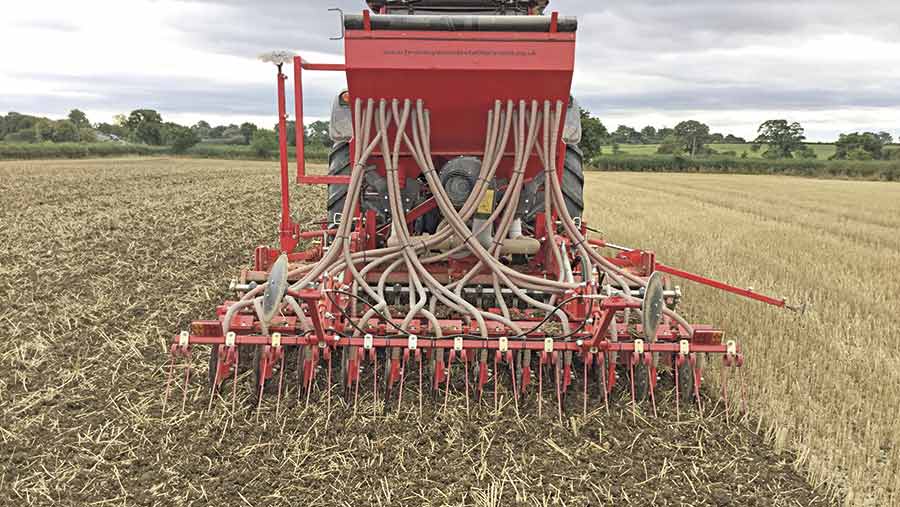
With the legs in place it’s possible to drill directly into stubble, where we plant between two and four acres an hour with our 130hp tractor.
The drill will also work in min-tilled or ploughed ground with or without the loosening legs and you can lift the discs out of work to use it purely as a cultivator. It’s also simple to remove the legs completely or lift the power harrow out of work for drilling only.
© James Andrews
We’ve done quite a bit of high-speed, shallow cultivation with it to encourage a weed-seed chit before going in deeper with the drilling pass once it’s been sprayed off.
How much does it cost?
The 3m seed and fertiliser version of the Combi-plus costs £35,000, including a heavy-duty Kuhn HR3004 power harrow and all the extras such as bout- and pre-emergence markers, following harrow and lights.
The standard Combi drill without the front toolbar and hydraulic power harrow adjustment is about £30,000. However, the fact every drill will be built to order means we can change the specs to suit the customer.
A few people have also asked us to convert their own drills to Vaderstad discs – we recently priced up a 4m conversion that came to about £8,600.
We’re also selling the toolbars separately, which cost £3,200. We make them for all brands of power harrow, but the Kuhn ones are the neatest. The others have hook ends on the back to hang the power harrow off so they push the drill back slightly further.
Bramleys Seed Establishment Combi Plus specs
- Toolbar Four JJ Metcalf NG soil-loosening legs with 525mm wings
- Power harrow Kuhn HR3004 or customer’s choice
- Roller Guttler Simplex 45
- Coulters 24 Vaderstad disc coulters with adjustable row width
- Hopper Single or twin-feed hopper.
- Width 3m or 4m
- Price £35,000 for a 3m

