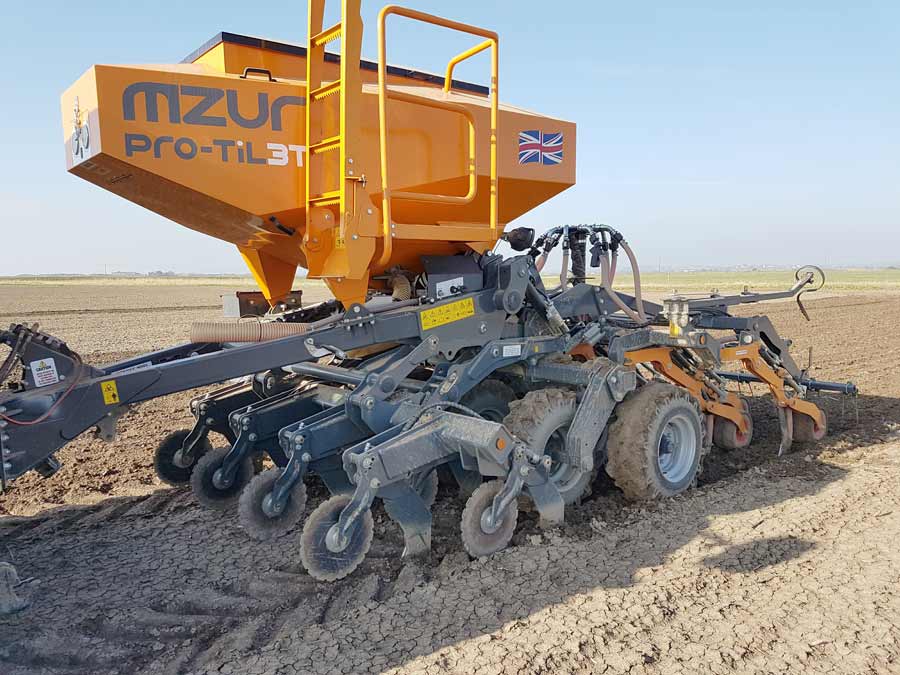
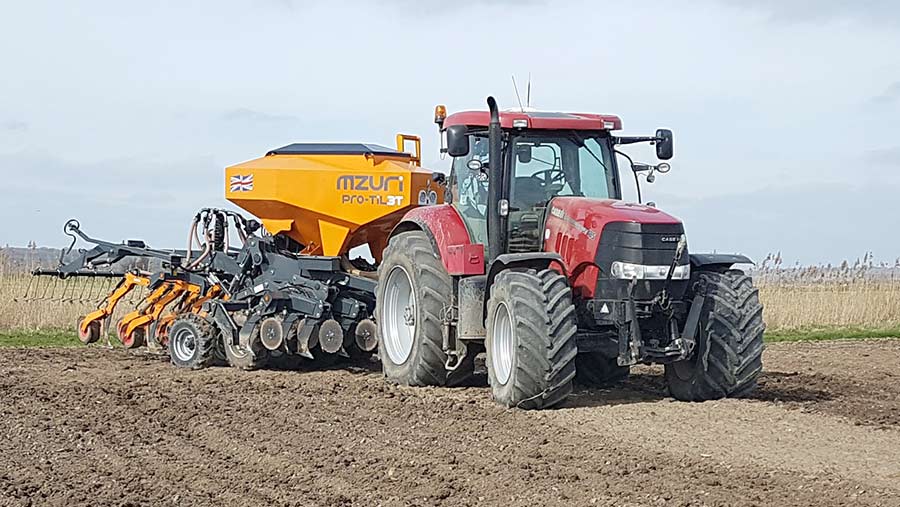
Driver’s view: Matt Lewis’ Mzuri Pro-Til 3m drill

© Matt Lewis
Farm foreman Matt Lewis talks about the Mzuri Pro-Til drill that he has owned for three years.
Its purchase bought about a change in the farm’s crop establishment system, which has taken Mr Lewis a while to adjust to, but he has been rewarded with lower production costs and improved weed control, while maintaining yields.
Farm facts
- Farm: Gillshaw Farm, Rye, East Sussex
- Size: 300ha of which 230ha is arable, plus 140ha contracting
- Soil: Loamy clay with some marsh land
- Crops: Wheat, barley, oilseed rape, beans
What drill are you using?
We have a 3m trailed Mzuri Pro-Til with an 1,800-litre single tank. It was an ex-demo model and had only done about 15ha when we bought it for around half the price of brand new.
This area of East Sussex has a lot of larger farms that wouldn’t be interested in a 3m drill, which is why we got it for such a good price.
See also: Driver’s View: Edward Davison’s Sky Easy Drill
Drill Mzuri Pro-Til
- Year: 2016
- Width: 3m
- Spacing: 330mm
- Tines: 9
- Depth: Manual
- Hopper: 1,800kg
- Metering: RDS
- Power: 185hp
- Drilling speed: 8kph
- Output: 20ha/day
- Price: £35,000
Why did you change to a strip-till drill?
We ran a Vaderstad Rapid for many years and used to cultivate everything three or four times before drilling. Apart from being hugely expensive, it was also doing nothing to help beat blackgrass, which on some parts of the farm was really taking hold.
I installed an RDS yield meter on our Claas Tucano combine to see how bad the situation was and, in the really bad areas, we were as low as 4t/ha. By comparison the rest was averaging nearer 11t/ha.
We were relying on cultivating immediately behind the combine to get two flushes of weeds before drilling so, as our Vaderstad was at the end of its life, it made sense to trial a few no-till options from Weaving, Sky and Mzuri before purchasing anything.
How does it work?
We opted for Mzuri’s strip-till system that cultivates narrow bands for the seed to sit in.
These are spaced at 330mm, giving nine rows across the 3m width, with a front disc slicing though the trash followed by a duck foot tine to loosen the ground. This is set a little deeper than the following seeding tine to help roots establish quickly.
After the ground is loosened, it is then firmed back down by the middle press wheels, before the bank of tines on the rear rip through and nestle the seed into the cultivated strips.
These are then pressed for a final time with the metal grooved wheel and there’s also a following harrow to level the bands off.

The hopper capacity is about 1,800 litres, but I can just about cram 2t of wheat seed in when it’s totally empty. I’ve installed a camera in the tank, which helps to run it right down before filling.
The rear legs have two different feet – a 1in tine for deeper-sown seeds such as oilseed rape and beans, and a 5in foot for all cereal crops. These are held in place with a roll pin and are easy to change.
How has it performed?
We’ve covered 740ha with it so far and the most notable change has been the huge reduction in blackgrass.
There are other factors that have influenced the blackgrass population, but the drill has allowed us to become a little bolder in how late we drill and has changed the way we farm.
Some of our ground is marshland, so there is little we can do when the soil is wet. Now that we aren’t cultivating, it stays useable for a bit longer – 10 years ago the drilling was completed by the end of September, but it can be into November in drier years.
Our cost of production has been slashed from £160/ha with our old system, to just £75/ha now. We haven’t noticed a yield drop either, although this may be due to how unproductive some of our blackgrass areas were in the past.
There’s also less wearing metal to replace, as the front wings did 620ha before needing replacements.
One of the easiest parts of the drill is its calibration, which takes a little over 10 minutes to complete. A button near the slot winds seed out and is linked to the cab box, so there is no need to hold a stopwatch counting the seconds – you just hold it for however long you feel is needed.
The figure is then entered into the box and I usually repeat it three times, though by the third time there is little change in the outcome. It’s now super-easy to recalibrate when changing varieties and farms.
What could be improved?
There are 132 grease nipples on the drill, which does make servicing a rather lengthy process. They don’t need to be done every day, but we have an electric grease gun to speed up the job.
For its size it does require a lot of power to pull, too. I use a Case-IH Puma 185hp on the front and it has to work hard to haul the drill up the banks around here.
The nature of the strip-till system means a ridge is created that sits lower than the undisturbed soil. We have found that pre-emergence chemical struggles to reach down into these areas, so we sometimes run over with a set of paddle rolls to knock off any lumps.
The hopper lid is one piece of metal that folds over to one side, which limits access for loading. However the newer Pro-Till machines have a split lid so it won’t be an issue for anyone buying new.
Likes and gripes
Likes
• Simple and easy calibration
• Accurate seed placement
• Seeding legs are easy to change
• Wearing metal lasts a long time
Gripes
• Requires a lot of power for size
• Too many grease nipples
• Ridging effect caused by strip-till design
• Can only load from one side of the drill

