Top tips for improving your calving setup
Calving can be a stressful period fraught with danger but simple improvements every dairy and beef farm can make to their existing setup can minimise risk to the operator and the animal.
Whether it is investing in a restraining yoke and gate for assisted calvings or creating dedicated washing facilities with access to hot water, there are changes to suit all systems and budgets.
Calving gate and yoke
A headlock and gate are useful for restraining a cow and are particularly valuable when a herdsman is working alone.
There are crushes designed specifically for this job and are ideal for handling lively suckler cows. Pembrokeshire vet Richard Davies says a gate can easily be adapted for use with dairy cows.
His design, pictured below, can be modified to accommodate any size of cow.
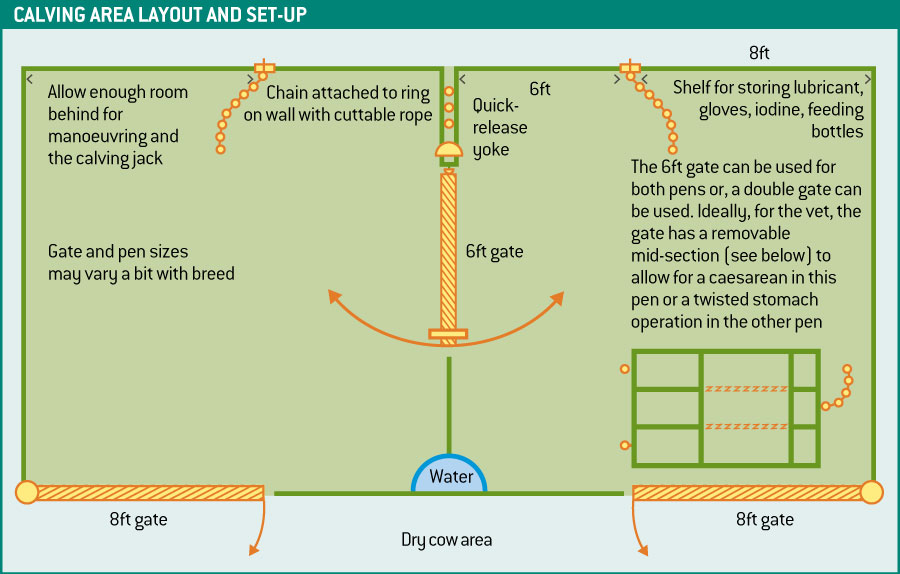
Mr Davies, of Fenton Vets, Haverfordwest, shares his advice on getting this system right:
- A short gate/longer chain combination prevents the cow moving too far forward. If the cow is safely in the yoke the gate may not be needed unless the cow is a bit wild.
- The chain length can be altered, depending on the size of the cow or heifer. A chain attached to a ring on the wall with thick baler twine or similar can be cut if the cow ‘sits’ on the chain as she goes down.
- Mr Davies’ sketch (above) shows how one gate and yoke can cover two calving pens. The handy thing about this design from a vet’s point of view is that surgery can be carried out on either side, for instance, a left flank caesarian or right-side displaced abomasum. This would need an adapted gate with removable middle bars and it is worth chatting with a vet to make sure the gap is in the right place for the size of cows.
- Ensure there is plenty of room behind the chain for the longest calving jack.
- Often a shed has concrete blocks at a height of about 5ft and this is a good height for keeping lubricant gel to hand.
At Synergy Farm Health, one farmer client has created a swinging gates/yoke combination to make calving cows easier, pictured below.
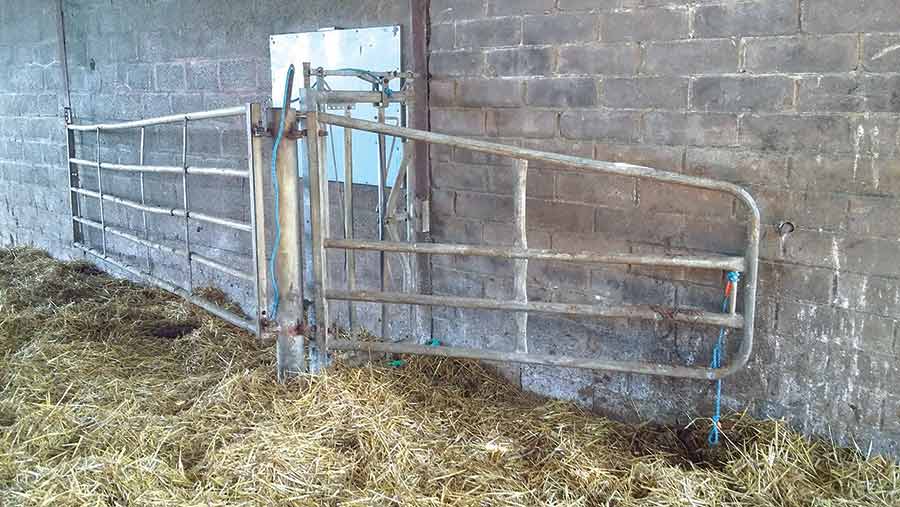
The yoke is accessible from both sides, with swinging gates to hold the cows next to the wall.
Synergy director Andy Adler says the gates are secured with string which can be cut if the cow goes down. If the calving is difficult and turns into a caesarean then the gate can be opened to allow access to the side.
Hot water, ropes and a calving jack are kept in an adjoining shed where there are washing facilities and the ability to dry hands afterward, which ensures an accurate calving record can be kept.
See also: Building for better herd health – designing shed roofs
Dedicated calving pens
David Staak, of Market Hall Vets, St Clears, gives his top tips on calving pens:
- Pens should ideally be located close to the milking parlour to allow cows to be easily milked after calving.
- The pen must, however, have sufficient privacy to allow the cow to calve in a stress-free environment.
- Using a layer of sand underneath straw, at a depth of 4-6in, provides a good footing and to prevent slipping. Sand will help to keep the bacteria load down and the straw can be removed weekly. The sand can then be topped up and covered with straw again.
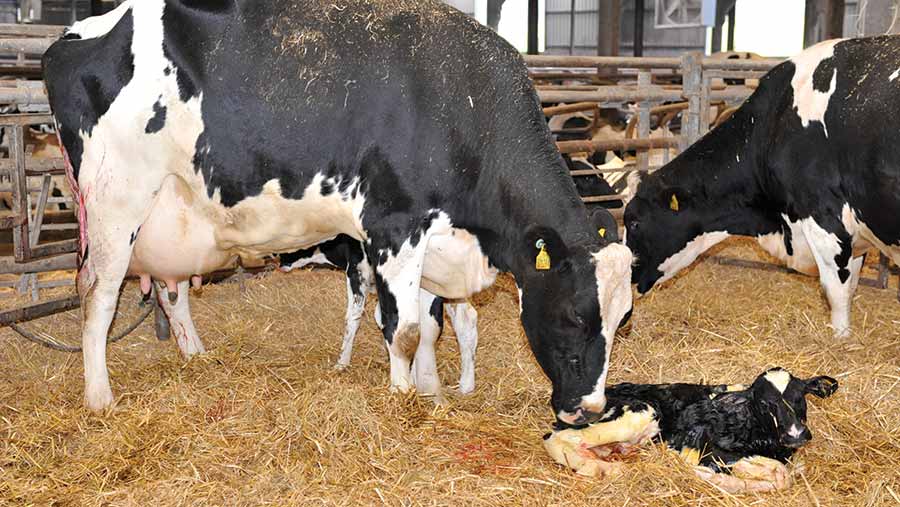
- Mr Staak advocates either a “just-in-time” calving method, where cows are moved into the calving pen just as the calf’s feet start to show, or using a large dry cow area for calving cows before moving them to a fresh pen with 12-24 hours.
- In the first approach, the cow is moved to the freshly calved group within 12-24 hours of calving. This approach reduces the impact of being separated from the herd and restrict decrease in dry matter intake (DMI). Minimal damage is caused to the cow if they are only separated from the herd for a short period.
- If cows are calved in a large, dry cow area, it is best to only add animals to the pen once a week to reduce conflict and to reduce the risk of a drop in DMI.
- It is very important to maintain a stress-free calving environment with minimal movements of cows around calving time. Cows should be moved into the dry cow pen a minimum of 14 days pre-calving to give them time to adjust and help maintain a good DMI.
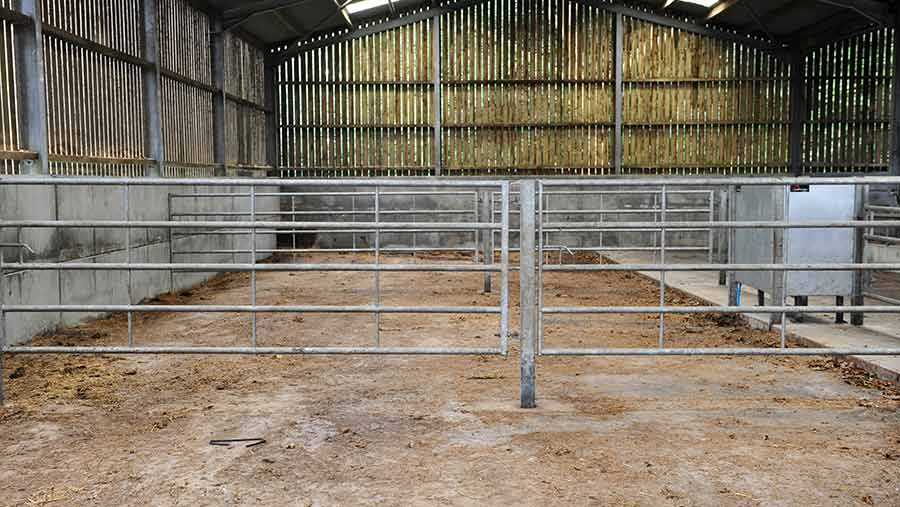
- The amount of space required for each cow in the close-up dry cow pen is usually linked to yield. A cow producing 8,000 litres needed 8sq m while one yielding 10,000 litres requires 10sq m.
Lighting
Good lighting is an important part of a calving facility, the calving area needs to be well lit.
Check lights before calving – clean covers – and have replacement bulbs on hand.
Good lighting is also essential in the event that a caesarean needs to be performed.
Check calving supplies
Check the availability of basic calving equipment. A good supply of long-armed disposable plastic gloves, obstetrical lubricant, iodine, clean and soft calving ropes, esophageal feeders and calf feeding bottles are essential.
Make sure the calf puller is clean and in good working order.
Case Study: Remote control cameras
At Moor Farm, near Haverfordwest, dairy farmer Andrew Rees has taken advantage of camera technology and wi-fi to help him to monitor his spring-calving herd remotely.
Mr Rees, who calved 236 British Friesians last spring, had been living two miles from the farm when he installed the camera above his three calving pens.
“The camera is linked to the internet so I can view live footage on my computer, tablet or phone, wherever I happen to be,” he says.
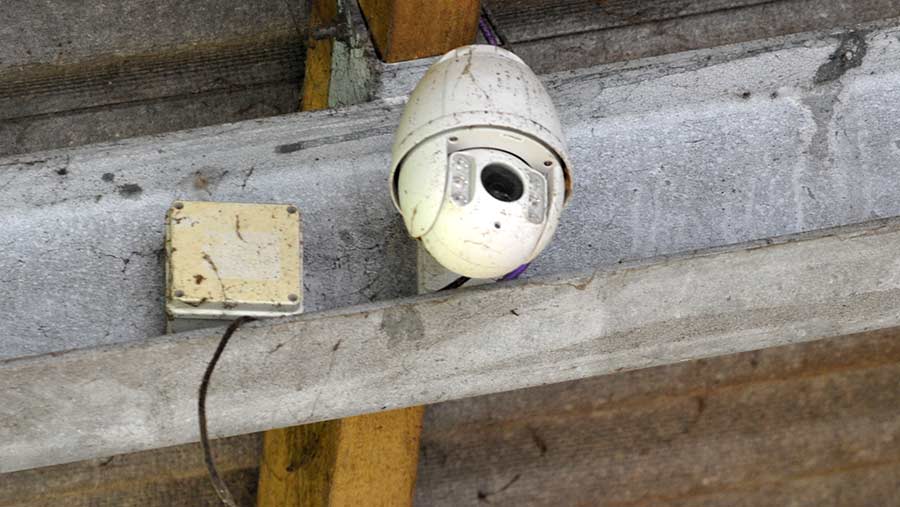
The technology cost less than £800 and has reduced his workload significantly.
He can move and zoom the camera for good accuracy and control.
See also: Four steps to improve dry cow shed efficiency
“I’m living at the farm now but I was living off-farm for three calvings, which meant coming back at 10pm and again at 2am in the first four weeks,” he recalls.
“Since I installed the camera, if a cow has started calving when I check her last thing at night and everything looks OK I can keep an eye on her via the camera.”
“Also, if I finish milking at night and a cow is calving I can go indoors and have some supper instead of hanging around because I can keep an eye on her on the computer.”
Andrew Rees’s calving tips
Keep cows and heifers separate as this will minimise any stress on heifers.
“If we mixed them, the cows bully the heifers and force them into dirty areas of the pens and they are the animals that haven’t had teat sealant,” says Mr Rees.
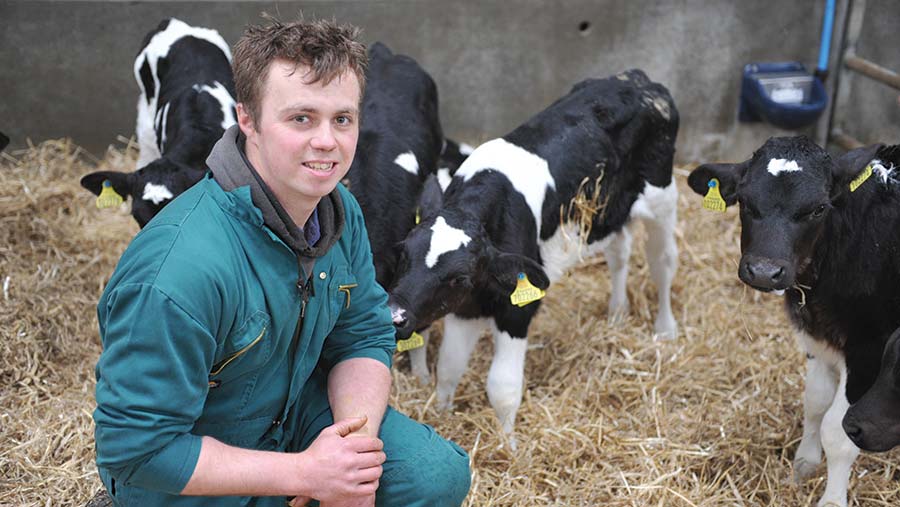
Andrew Rees
“Heifers are also the animals most likely to need help.”
Have a dedicated washing area.
“Before we created our calving area we would have to wash our hands in cold water which I can tell you isn’t much fun in February. Running hot water is also useful for keeping ropes clean.”
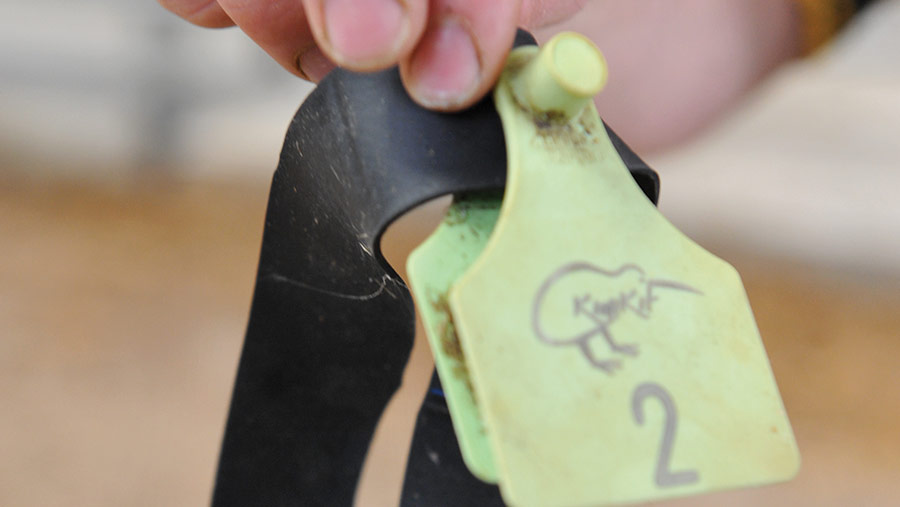
Management tags are useful for identifying newborn calves before they are moved to separate pens.
Get the diet right. If a cow or heifer needs assistance with calving it could well be due to her being overconditioned.
Mr Rees says this is easily avoidable. “We now let our second cut silage get more mature before we cut it as this reduces its energy content. We mix this with straw and the cows get this from the point of drying off.”
