
Advice on building a new silage clamp
Silage clamps are often old and can be the most overlooked infrastructure on the farmyard.
But given the important role they play in preserving quality forage, it may be time to consider investing in new ones.
See also: Complete guide to silage clamp compliance
Adas technical director Charles Bentley, who specialises in farm infrastructure and pollution control, and Liz Nicholson, director at Stansgate Planning, Warwickshire, provide advice.
Building new clamps: What to consider
- Vertical-walled clamps next to each other can be space-efficient, but ensure drainage fully encircles all of them.
- Clamps that open at both ends allow different forages to be accessed simultaneously, but only if there is no risk of pollution.
- Feed pads save on walls, but may limit the amount of material on it and the surface area is larger, so you have more contaminated rainwater to deal with.
- Moveable concrete panels give you the flexibility to change pit proportions.
- Ensure the construction company is aware of the silage, slurry and agricultural fuel oil (SSAFO) legislation.
- Inclined and backfilled walls make it easier to compact silage because machines can drive closer to the wall and are safer to sheet and unsheet and sheet.
Tips for successful applications
- Explain why you need a new clamp or have to update your existing store
- Talk to your local parish council or ward member before applying so it doesn’t come as a surprise
- Ensure the Environment Agency is happy because local planners will consult them
Siting a clamp
- Stores should not be located within 10m of a land drain.
- No part of the store must be located within 10m of inland freshwater, including any ditch, stream, or coastal water.
- Stores should not be located within 50m of a borehole, well or spring used for drinking water or food production purposes, or within a groundwater source protection zone. The location of private water supplies can be obtained from local authorities.
- Avoid areas at risk from flooding.
Consents and permissions
1. Notify Environment Agency (EA)
You must notify the EA before you build a silage clamp or make significant changes to an existing one (such as extending it by more than 10%). In England, you must do this at least 14 days before construction starts.
In Wales, Natural Resources Wales (NRW) only requires notification before the clamp is first used. But contacting NRW is strongly recommended before the project starts in case it is deemed unfit for use, potentially wasting thousands of pounds. A WQE3 form, available from NRW, must also be completed.
The type of information likely to be required includes:
- Name, address, email and telephone number
- Type of store you want to build or update
- Exact location (eight-figure grid reference)
- Site plan and drawing confirming the materials used
For a full list of requirements, go to the government website.
2. Planning approval
You will also need planning approval from your local council.
Consider the the potential effect on sensitive locations such as Sites of Special Scientific Interest (SSSI) or Special Areas of Conservation (SAC). You must also be aware of the implications for habitats likely to support protected species.
You may only need to obtain permitted development rights, providing the build meets certain criteria. If it goes above a specific size or is close to housing, you will need to apply for full planning.
Permitted development is easier, cheaper (£96) and quicker – the council has to make a decision within 28 days.
Full planning application costs £96 (up to 465sq m) and £462 (465-540sq m). From 540- 4,215sqm the cost is £462 for the first 540sqm, then £462 for each additional 75sqm over that. The application process can take eight to 16 weeks.
With 3m high walls you can potentially put in planning for nearly 2,000t of clamp capacity under permitted development.
Case study: Guide to the Ark clamp build process
Oldfields Farm, Market Drayton, Shropshire
Shropshire dairy farmer Simon Dutton built two silage clamps last season to improve forage storage capacity.
Cow numbers had expanded over the years, but clamp infrastructure hadn’t kept up with increased demand for forage.
Simon Dutton
Farm facts
• Milks 250 cows
• Yields 10,800 litres at 4% butterfat and 3.2% protein on twice-a-day milking
• Farms in excess of 160ha
“When my parents bought the farm in 1998, we had 130 cows. Now we are milking nearly double that. We looked at making our existing clamps future-proof and it didn’t make sense – it was far better to build new ones,” says Mr Dutton, who milks 250 cows at Oldfields Farm near Market Drayton.
Mr Dutton chose to build two 1,800t Ark clamps costing roughly £48/cu m in total. With their novel sloping wall design and asphalt floor, they are ready to use far more quickly than a concrete-based clamp.
Concrete needs to be left to set for four to six weeks before use, whereas the asphalt is ready to use after just 72 hours.
Will Wilson, business development director at Ark Agriculture, explains: “The beauty of asphalt is that it is harder wearing than concrete and, if something does occur, it can be easily repaired at a fraction of the cost of concrete.”
The pits were installed in September last year and took less than five weeks to complete.
Mr Dutton reckons it has reduced forage waste, because clamps are no longer overfilled.
The clamps measure 14x50m and have been built with no back wall to allow for future expansion.
Grass silage will fill the second pit this season when the first cut is taken in May.
“Making good-quality silage is hard enough. In the UK, we don’t have a prolonged period of good weather, but we can control our clamps,” says Mr Dutton.
Step-by-step guide to the Ark clamp build process
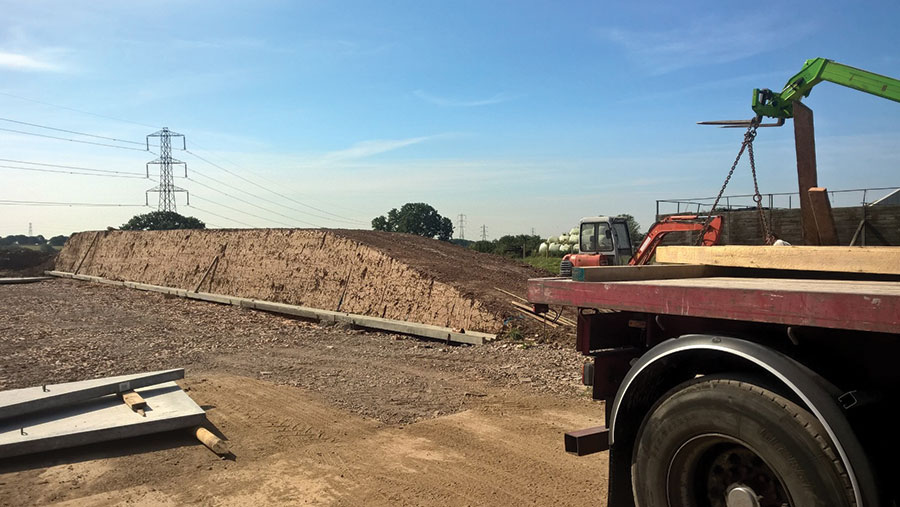
© Ark Agriculture
1. The clamp is constructed using clay bank sidewalls 3m high, 3.6m wide at the base and 1.7m at the top. The best design for a clamp is without a back wall.
2. The floor is laid with a 2-3% gradient (front to back) so effluent and rainwater drains forward. There is also a 2-3% fall away from the sidewalls (with the floor sloping inwards along the axis) to ensure effluent flows away from vulnerable joints.
3. Earth banks are covered with an impermeable membrane to prevent effluent leaching.
4. Drains are constructed outside panels, but inside earth banks, with runoff passing into the dirty water system.
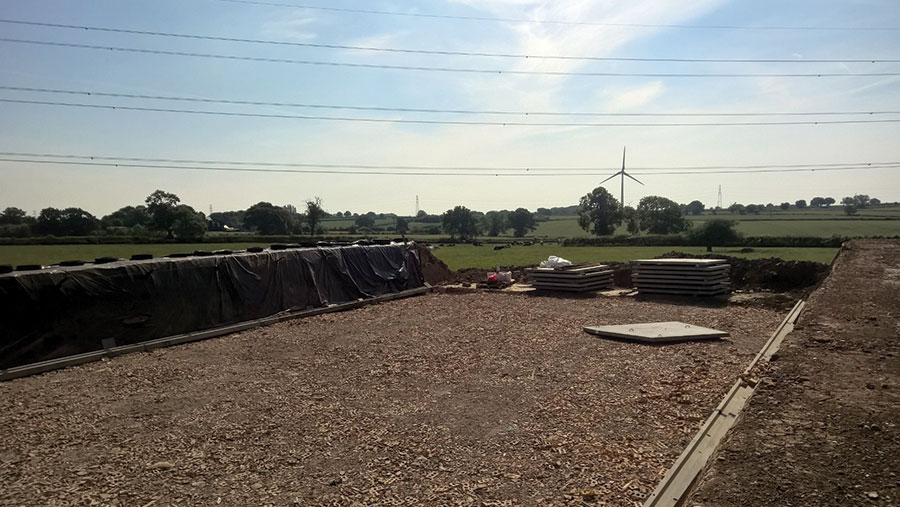
© Ark Agriculture
5. Wooden struts are driven into the bank and act as temporary anchors for wall panels
6. Reinforced concrete panels are positioned into seating channels set below the surface of the clamp floor and against the struts at 23deg angles sloping into the bank – this helps improve the weight-carrying capacity – before being sealed in place.
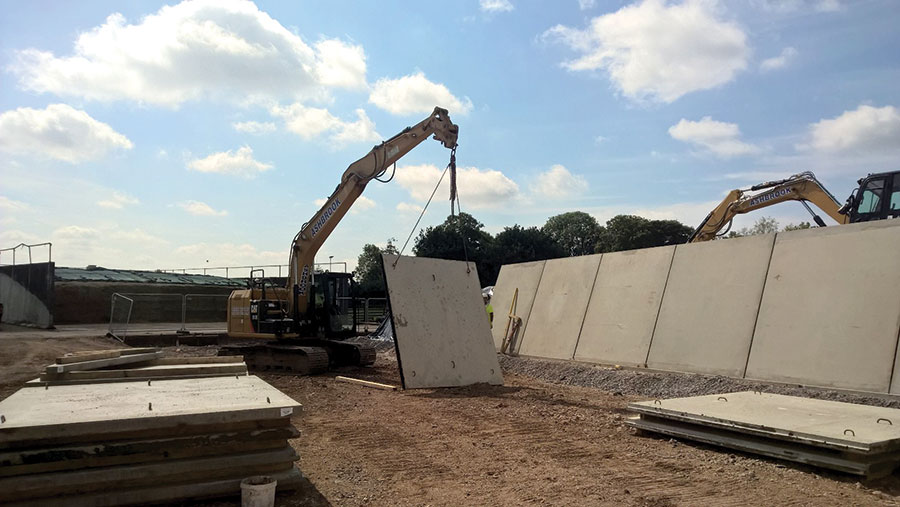
© Ark Agriculture
7. Wall panels, either side of the clay walls, are tied together using steel bars.
8. The gap between the earth bank and the wall is filled in using gravel.
9. Silage clamp-specific hot-rolled asphalt – not containing limestone – is laid for flooring. This protects the floor from acid in the silage.
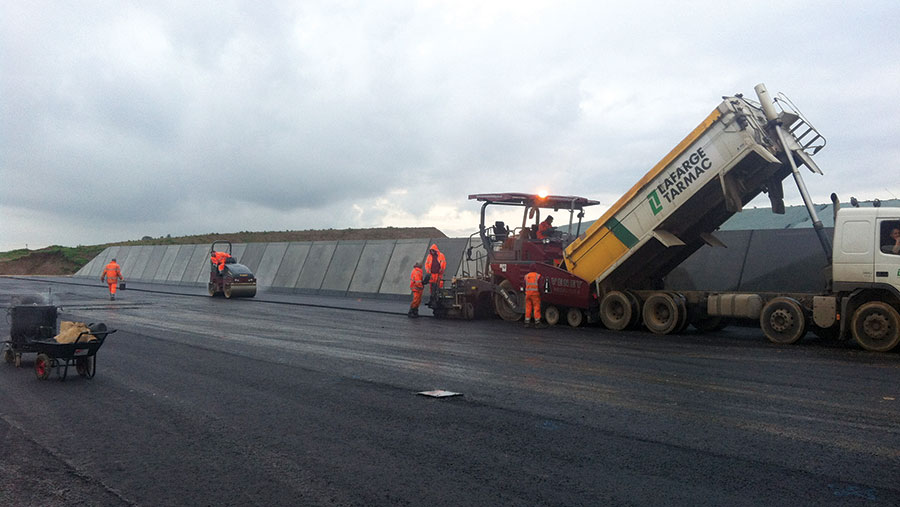
© Ark Agriculture
10. Panels are painted to reduce corrosion.
Pros and cons
- A sloping wall provides a safe working platform and aids compaction.
- The asphalt takes three days to set, whereas concrete-based clamps should be left for four to six weeks before filling.
- Hardwearing asphalt should last 30-40 years.
- Haulage can become too expensive to use hot-rolled asphalt if asphalt factories are not nearby.
- No back wall allows flexibility to extend the clamp, but it cannot be opened from both ends due to the drainage gradient. This could create issues with water collecting at the top of the clamp.
- Panels require painting every four to five years.