
Guide to effective dairy parlour cleaning
 © Tim Scrivener
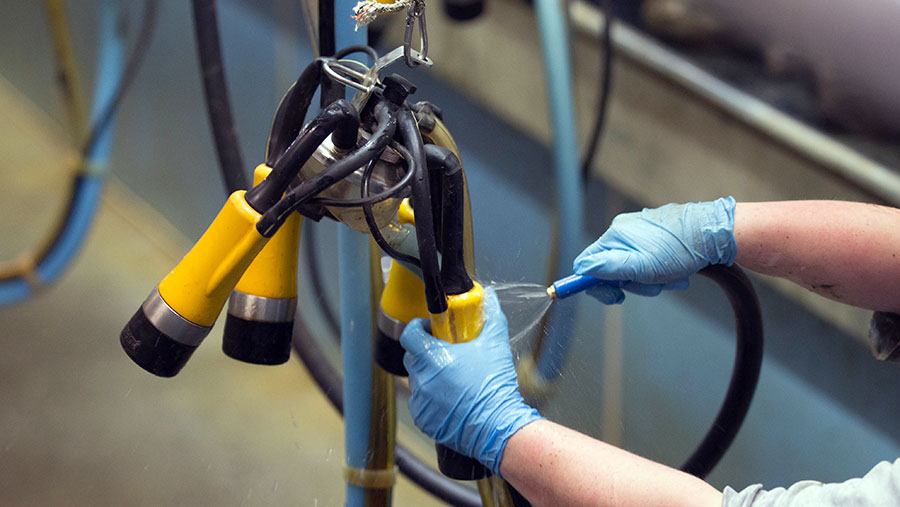
 Ineffective cleaning of the internal surfaces of the milking system increases the risk of bacteria and milk residues building up.
As well as potentially leading to higher Bactoscans, this raises the potential for cross-infection with diseases such as mastitis from contaminated milking equipment, according to Ian Ohnstad, milking technology specialist with The Dairy Group consultancy.
See also: Guide to water heating options for your dairy parlour
Thermoduric bacteria – heat-resistant, spore-forming bacteria that can survive pasteurisation and cause serious problems for milk processors – are also more likely to thrive.
Despite these risks, many cleaning routines on UK farms are both ineffective and inefficient and need closer attention.
It is critical that a regular, monitored routine is followed by all staff involved in the plant‐cleaning operation, Mr Ohnstad suggests.
See also: UK farmers wasting £3m during parlour cleaning routines
Cleaning protocol
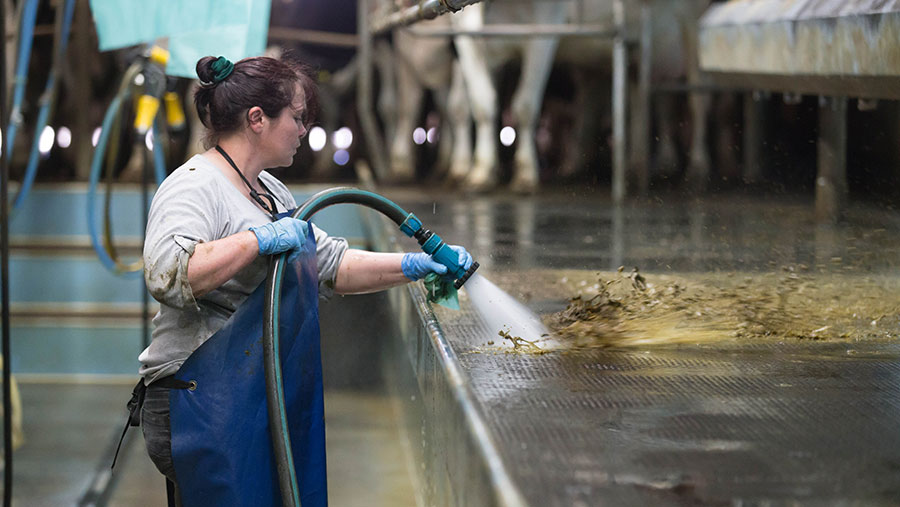
Step one: Clean the parlour using low-pressure water to remove muck and debris from liners, clusters, long milk and pulse tubes.
A common mistake is to clean the external surfaces of milking equipment after the hot water cleaning cycle has begun.
This can bake faecal material to the surfaces, making it far more difficult to remove, says Mr Ohnstad.
“Another reason to avoid applying cold water to the outside of a metal pipe is that it will significantly reduce the temperature of the water being circulated inside,” he says.
Maintaining a sufficiently high temperature to reduce bacteria and milk residues in the pipe is critical, so this attempt to save time is ineffective and wastes the energy used to heat the water.
Step two: Once the clusters have been cleaned, they should be attached to the jetters.
This transfers vacuum to the wash manifold and leads to wash solution being drawn into the plant.
The jetters should also be cleaned as they may have become soiled during the previous milking and can introduce contamination into the circulating solution.
Any in‐line mastitis detectors should be checked and cleaned before circulation begins.
Step three: Then a three-phase cleaning cycle should begin.
1. Pre-rinse to remove milky residues.
This should be carried out using tepid water at about 30-40C at a rate of 12-15 litres per milking point, allowing this to run to waste.
If hot water volumes are limited, use cold water for the pre-rinse rather than compromising the temperature and volume of the hot circulation.
2. Circulation to remove fats, proteins and minerals.
This requires a total of 15 litres of water per milking point, heated to 77-85C.
First, allow five litres per milking point of hot water at 85C to go straight through the plant to the drain.
This is to begin cleaning the system and heat the metal pipework – much like warming a teapot, explains Mr Ohnstad.
The warmed metalwork will help maintain water temperatures in the following phase.
The main circulation should supply 10 litres of water per milking point for about 6-8 minutes ensuring the final circulation temperature is greater than 55C. Cleaning chemicals should be added at this stage.
Once the circulation is established, every jetter should be checked and a visual inspection should be carried out at all milking points to ensure adequate solution flow.
3. Final rinse – to remove chemicals from the plant, preventing milk contamination.
This is a cold rinse at about 15 litres per milking point. If mains water is used there is no need to add a disinfectant to the final rinse.
Tips on improving cleaning efficiency
Beneath the practical cleaning steps there are four key components that underpin a successful parlour routine, suggests David Horton, UK sales manager for Deosan.
1. Water quality and mechanical action
The starting point is to ensure that water is of drinking quality, ideally from the mains.
Where water is drawn from private boreholes it is wise to test the supply regularly to ensure pathogens are not introduced.
With a consistent class-one supply achieved, water should be drawn through the system with a vigorous, mechanical action.
“Cleaning should not be a quiet, docile affair,” says Mr Horton. “Milk pipes should jostle as a slug of water is forced through the pipes.”
This slug is created by the impulse system – a controlled injection of air.
It is particularly important for modern set-ups with a large-bore pipe for the slug to contact both the top and bottom internal surfaces to remove milk residues and bacteria.
Checking water volumes, to ensure target quantities are being met, can be achieved by catching water in buckets at the end of each stage as it is pumped through the delivery line to the drain, Mr Horton says.
2. Chemical use
Chemical cleaners are needed to tackle bacteria and should be selected with advice based on the installed system.
Chemicals are particularly important in reducing thermoduric bacteria which resist the action of the raised water temperature.
Active ingredients are manufactured to operate at a prescribed temperature and dose rate. These vary between products so it is essential to read the label and stick to recommendations.
The dose rate will be set at a level to clean but not damage rubber and silicone seals, pipes and liners.
There is always a temptation to “add a bit more chemical”, Mr Horton says, but that risks damaging equipment and is a waste of money.
“Another common mistake is to guess the quantity of water passing through the system,” he says.
“The best way to establish what is going through is to measure a quantity of water into a bucket over an amount of time and adjust the chemical dose accordingly.”
© Tim Scrivener
3. Temperature
Temperature is critical in reducing bacteria and milk residues and should be in the range of 77-85C. It is also the key area where energy costs are wasted.
The important thing to remember is: don’t assume the gauge on the water heater is correct.
An additional digital thermometer, the type with a sensor at the end of a wire, can be used with the tank lid on. This should be checked routinely, advises Mr Horton.
Checking the water temperature throughout the system is also critical. This can be achieved using temperature-sensitive stickers on piping and, at the exit pipe, by drawing water into a bucket and using a digital thermometer.
Where heat losses occur, it may be that the parlour is older or poorly maintained and cold air is being drawn in at joints and seals.
Insulation may also have broken down over time. A common failing is to leave wash troughs without a lid.
Often the hot water system could benefit from a redesign – water heaters are frequently sited in boiler rooms and pipes carry water long distances, even externally.
The outlet on a heater may be too small, drawing water out slowly and allowing it to cool quickly as it contacts the pipework.
Five critical points where temperatures should be monitored
- In the water heater
- At the end of the inlet spout exiting the heater
- At the parlour intake
- Before the start of circulation
- At the completion of circulation.
4. Time taken
For effective cleaning and disinfection it is advisable to perform the full hot wash routine after every milking, and not just on a once-a-day basis.
Most milking parlour equipment manufacturers will advise a 10-minute wash. However, a minimum of six minutes at the target temperature of 77-85C is better than 10 minutes at too low a temperature.