
5 ways to help prevent silage slippage
 © Tim Scrivener
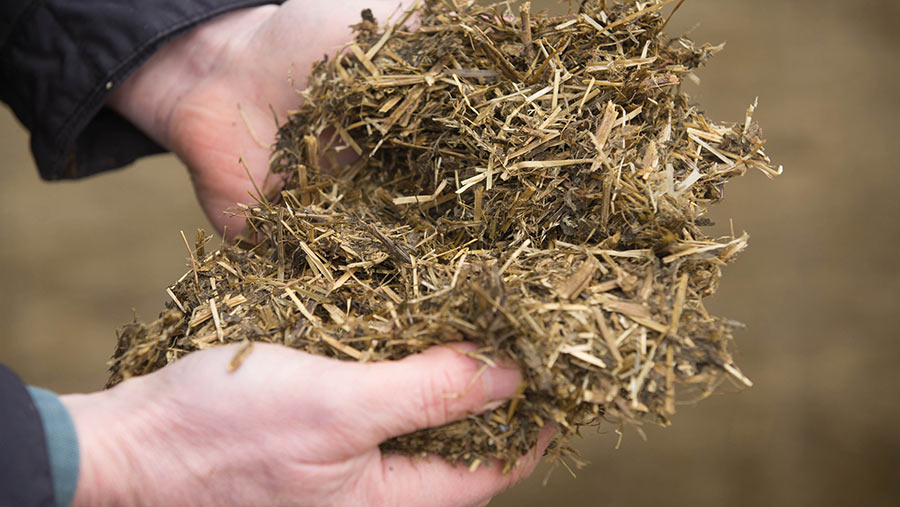
 More silage slippage is being seen on farms because of the increase in the popularity of multicut silage.
A multicut system involves cutting grass more frequently than the traditional two-to-three-cut systems.
Silage made this way is at a greater risk of slippage because it is made of highly digestible, young, and leafy material, which is often chopped short. This limits the structure that helps hold it together, explains Hefin Richards of Rumenation Nutrition Consultancy.
See also: How to prepare for the 2023 silage-making season
Furthermore, high sugars in grass silage will ferment to volatile fatty acids (VFAs). These are oily and can exacerbate slippage, he adds.
Other risk factors include low – less than 30% – dry matter (DM) and deep, high-walled clamps.
Silage slippage occurs when moisture within the clamp creates a wetter layer of silage at the bottom of the pit. Pressure from the silage above causes the bottom layer to slip, like jelly.
“Multicut material is far riskier than older and stemmier grass,” explains Hefin.
Slippage then exposes the silage to air long before it is fed, leading to high DM losses, as well as nutrient (energy and protein) losses.
In addition, there is an increased risk of yeast and mould growth, which can be harmful to animal health.
“The losses are often invisible to the eye, but you have inevitably lost a huge amount of potential, which makes slippage a very costly issue,” he warns.
Hefin stresses he is not advocating the use of outdated clamps or that farmers move back to three-cut systems. Instead, he says steps can be taken to reduce the risk of silage slippage.
1. Aid clamp drainage
Ironically, newer clamps are at a greater risk of slippage because they have high walls and smooth, sloping floors. This encourages liquid to gather at the bottom and behind the silage face.
Hefin adds: “It’s like having a three-sided tank. The only place [water] can escape is at the front. If you have 2,000t of silage at 25% dry matter, that’s 1,500t of liquid contained in that clamp with 500t of actual dry matter.”
To aid clamp drainage, he says a perforated pipe should be installed at the foot of each side wall before filling.
“Most clamp manufacturers specify the use of these to reduce hydraulic pressure on the walls,” he adds.
2. Consider chop length
To prevent slippage, farmers should aim to dry grass silage to at least 30%, but he concedes this is not always possible if weather conditions change.
“The theory is all very well, but in practice you must work around all sorts of issues, such as weather and contract availability.”
He says farmers should target 30-36% DM with a rapid wilt (36 hours maximum), but be mindful that the longer the grass takes to wilt, the more losses will be incurred.
If silage is less than 30% DM, a longer chop length should be considered, he suggests.
Alternatively, farmers could use a longer chop length at the bottom of the clamp.
“Aerobic spoilage will never be an issue [at the bottom] because there’s so much weight on top. So, for the first few fields into the pit, we could choose a longer chop length and layer this along the whole clamp floor.”
In practice, this might mean increasing the chop length from 20mm to 30-40mm, and reducing it if DM increases or as the clamp fills.
“If silage is drier, a shorter chop will help consolidate it better and will decrease the risk of air getting in. If it’s wet, you don’t want to chop it short or it will end up like soup,” Hefin advises.
3. Fill the clamp like a lasagne
He says too often the buckrake driver makes the mistake of filling the clamp in a wedge from the back to the front.
Instead, he says the clamp should be filled in layers – no more than 15cm thick – along the length of the clamp “like a lasagne”.
“Consolidating the bottom layer consistently may help prevent slippage, as opposed to putting a second tractor or compactor on as harvest progresses, which can lead to a poorly consolidated bottom layer with more weight on top.”
This method of filling the clamp will also help improve feed consistency, he adds.
“You will be feeding a little bit from every field, providing you feed [“cut the face”] from the top to the bottom. It means the silage you are feeding is going to be more consistent week by week.”
4. Create a gulley when sheeting the clamp
A key cause of silage slippage in outdoor clamps is when rainwater is channelled to the sides and runs down the walls and behind the silage sheets, notes Hefin.
“Tell-tale signs are a layer of wetter silage that tapers from the walls to the middle of the clamp,” he says.
To avoid this, he suggests ensuring the top sheet forms a gulley. To achieve this, the top sheet must be long enough (see “Silage clamp essentials for avoiding slippage”).
5. Consider using straw
Another way to prevent slippage is by layering straw on the floor of the clamp to provide friction, aid drainage and absorb any effluent, Hefin adds.
One dairy farmer who has done this with success is Matthew Thomas, who milks just over 500 cows three times a day at Green Farm, Longnor, Shropshire.
Fed up with silage slippage, Matthew started using straw as an experiment on second- and third-cut silage last year. He spread one bale of straw to three loads of silage.
The straw was blown into the silage as it was tipped into the clamp before being buckraked.
He has had no issues with slippage to date and plans to do it again this season. Furthermore, it has negated the need to add straw to the ration.
“I think it has been good for cow health because it helps to slow rumen passage,” he says.
Matthew says forage variability has not been a concern given that it is mixed at low inclusion rates.
He adds: “Cows are milking well – giving 38 litres at 4.4% butterfat.”
Despite having no direct experience of this, Hefin says there is a logical explanation as to how it could help.
“Putting straw down was tried years ago to retain effluent and now we are looking at it for a different reason,” he says, adding that using straw in this way is “effectively putting in a layer of long, dry fibre, which acts the same as drier, longer-chop silage”.
However, he says increasing the chop length at the bottom of the clamp may be a more practical and cost-effective option for many.
Take-home messages
- If grass silage is dry (more than 35% drymatter (DM)), chop it shorter; if it is wetter than this (less than 30% DM), chop it longer
- Consider using straw to aid friction and absorption
- Ensure the top sheet is wide enough to prevent water from running down inside the walls of the clamp
- Fill the clamp in well-consolidated layers from the start