Advice on installing a new dairy parlour
 © Tim Scrivener
 A parlour is a significant investment and should not be given the green light before carefully considering the business’s future, options and design.
David Ball, lead environment specialist at the AHDB, says farmers must first ask themselves where the business is likely to be in 20 years’ time.
“If you’re nearing retirement or there’s no succession, consider if the investment is justified.
“Equally, your successor may not want to be tied to milking each day. In this case, you might be better off looking at robots,” he advises.
See also: How to make sure your parlour is running properly
Dairy farmer Will Prichard milks 1,000 block-calving cows across three farms in west Wales and has installed various parlours to date.
He completed a Nuffield scholarship on large-scale cattle handling and has travelled to New Zealand to study grass-based milking setups.
Together with Ian Ohnstad, parlour specialist at The Dairy Group, David and Will offer advice on what to consider before installing a new parlour, or increasing the size of an existing one.
1. Milking speed targets/size requirements
When considering parlour size requirements, Will says grass-based systems should target 10 rotary parlour rotations or no more than 12 sides if cows are being milked through a herringbone.
Ideally, cows should spend no longer than two hours away from pasture while being milked, so each side or rotation should take seven to 11 minutes, on average.
For year-round calving, housed herds, the bed-to-bed target time is 45 minutes, although Ian suggests it may be closer to one hour in reality.
Will has opted for herringbone parlours at two farms because they cost less than a rotary and he says they are easier to fix.
At his home farm, 500 cows are milked through a 44-a-side herringbone, which takes two hours.
The parlour was built in 2000, and he enlisted the help of building specialist Chris Randrup from New Zealand.
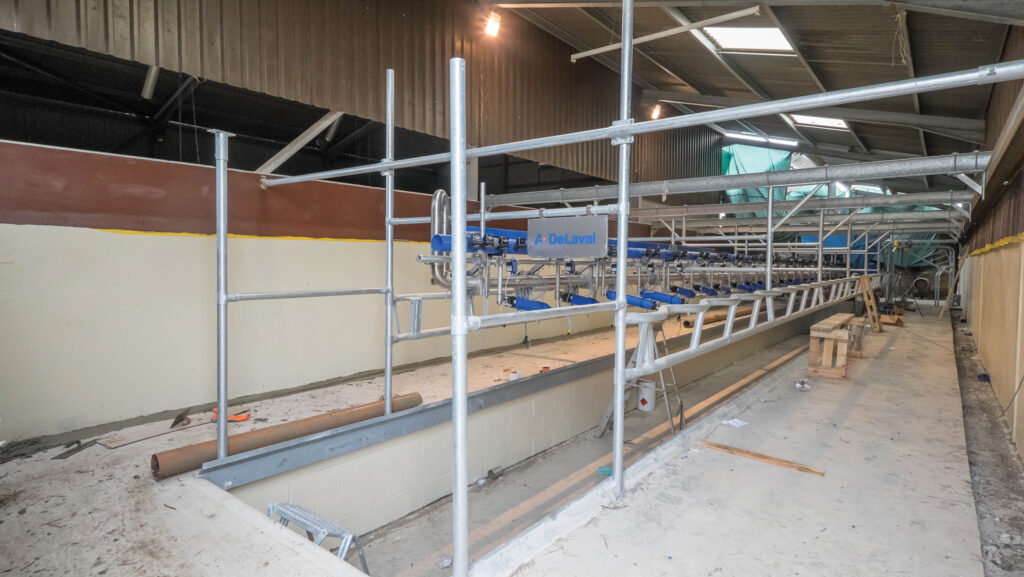
The stallwork was integrated into the parlour building and a canopy was attached over the top to make the roof, which saved about 30% of the total cost.
Will says he invited four manufacturers to tender for the milking equipment installation.
David says that “size isn’t everything”, and one of the biggest misconceptions is that increased size means increased throughput.
“A bigger parlour is often not the solution because it requires more people.
“Expanding the parlour by adding extra units does not always speed up milking because generally one operator can only handle 15-16 units, and units will be [hanging] up when they should be on cows.”
The AHDB’s Parlour Wizard tool allows farmers to assess existing milking routines and the speed of milking and look at new parlour options and automation.
It then produces a financial report based on the planned herd size and milk yield.

© Tim Scrivener
2. Choosing a parlour manufacturer
Ian says farmers should give serious thought to the parlour specification, particularly the level of automation.
“When you approach manufacturers for quotes, ensure all tenders are quoting for the same specification.”
David advises farmers not to add more technology “just for the sake of it”.
He encourages farmers to identify a producer who has already installed the parlour shortlisted. Then, ask to visit during milking to “test drive” it and ask questions.
Local parlour support and good backup and part availability are also key to consider, and farmers should shop around for competitive quotes.
3. Selecting milking technology
Ian says farmers should not be frightened of automation, but it comes at a price.
“There will be additional servicing and maintenance costs, but these need to be offset against efficiency savings.”
While many block-calvers have previously opted for limited technology to minimise costs, Will says this is changing.
“Twenty years ago, I would have said keep anything electric out of the parlour.
“We now use automatic cluster removers [ACRs] on all bar one unit as a belt-and-braces approach because our labour quality can vary.”
When Will bought a second farm and moved cows from a batch-feed system that offered cows 8kg a head a day of cake to a parlour that had feed-to-yield technology, he says milk held, but they had a daily saving of 200kg of cake.
“The condition score of the cows was more even, and that gave us the confidence to install it on our other autumn-calving herd.”
Ian says cost-effective technology to consider includes:
- Feed-to-yield systems
- Auto identification
- Automatic teat disinfection
- ACRs (efficiency can be improved by removing at a higher milk flow rate)
- Backing gates.
4. Promoting good cow flow
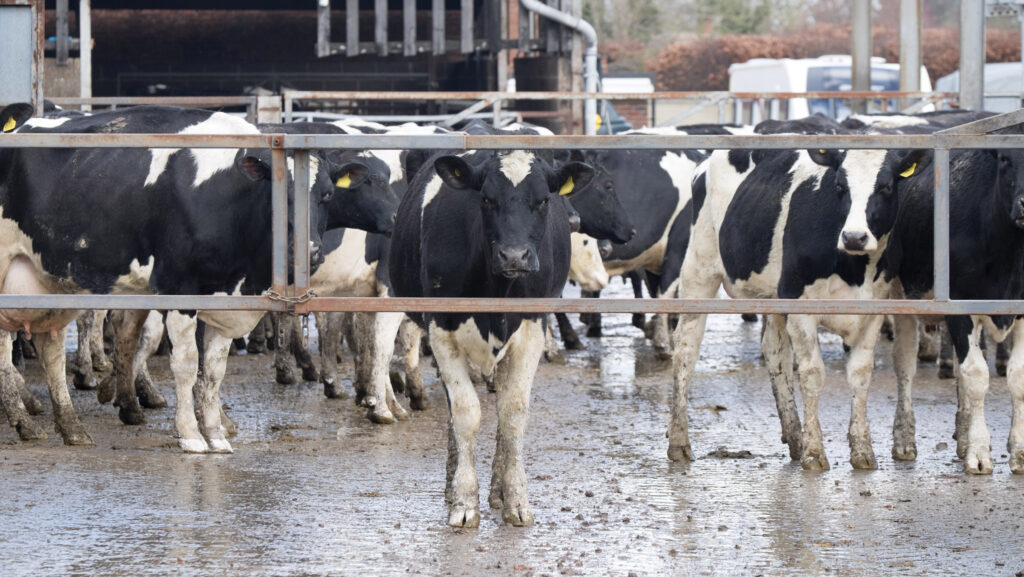
Ian suggests allowing 1.5-1.7sq m a cow in the collecting yard, depending on cow type, when designing the size of the collecting yard.
Cows prefer to walk uphill rather than downhill, so Will advises ensuring the parlour runs on a 1% gradient.
At his spring-calving unit, he uses backing gates to aid cow flow and has chosen a solid gate that runs on tracks on either side of the collecting yard. This can be controlled from the pit.
When using a lifting backing gate, Ian suggests trying to move small groups of cows (four to five sides of the parlour) rather than dropping the gate behind 200 cows and expecting animals at the parlour entrance to move.
The exit of a parlour should be free-flow to prevent cows from dawdling.
To achieve this, there should be no obstacles or difficult turns, and cows should be able to see where they are going, advises David.
Rubber matting on corners can give cows more confidence and reduce wear and tear on hooves.
Ian recommends laying this inside the last bay of the collecting yard, in the cow standings, and on the parlour exit, to encourage cows to leave on their own.
“If there is no change in the floor surface, cows will move freely. Having mats in the operating area for milkers to improve staff comfort is also money well spent,” adds Ian.
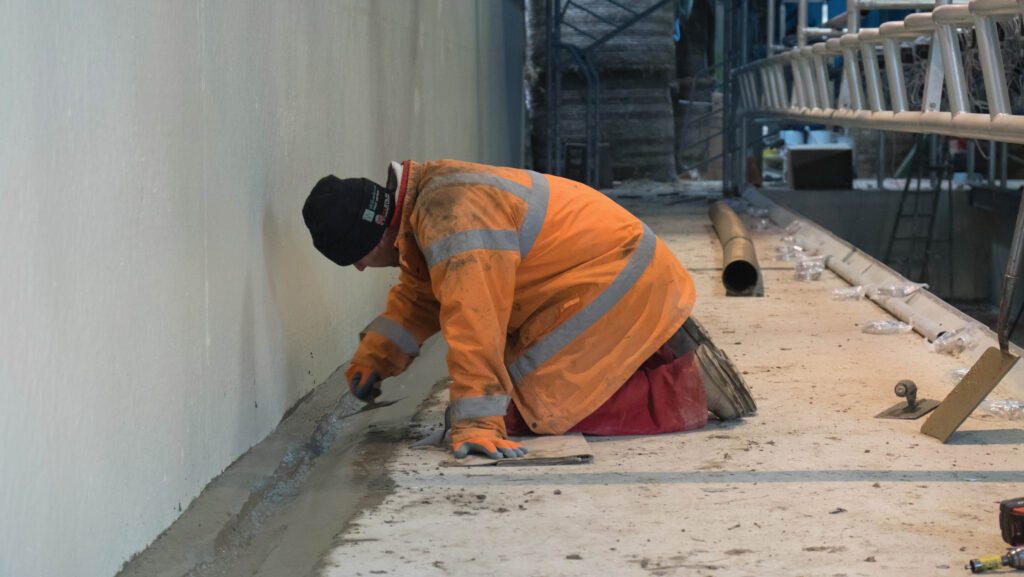
Where rubber is lacking, concrete should be parallel grooved.
This is easier to install in a new setup because a rake is run through the concrete before it is fully dry, and no concrete cutting is required, unlike with other groove designs, explains Ian.
However, the floor must remain smooth inside parlour stalls to aid cleaning.
Instead, Ian advises using carborundum in the top layer of concrete of the standing to improve grip.
5. Lighting
Lighting is often inadequate inside parlours, says Ian, who advises using 500 lux lights.
Cows should move into the parlour from a darker area.
For example, the collecting yard should be 200 lux. This draws them in, providing the lights are not positioned at “eye level”, so the cows are walking into a “headlight”.
The exit needs to be equally well lit so cows can see where they are going.
While parlour lights are now almost exclusively LEDs, Ian warns they can interfere with electronic identification frequency, and shielding may be required.
Light location is also important: “If you double the distance from the area you’re trying to illuminate to the light source, you reduce effectiveness by fourfold,” he points out.
He says strip lights offer good light diffusion, and LEDs attached to the curbs of the milking stalls will illuminate udders well, allowing milkers to clearly identify teat cleanliness and abnormal milk.

© Tim Scrivener
6. Drainage
There should be a 1% fall from the operator to the outside walls so that stalls can be easily cleaned during milking, says Ian.
He says a gully, located underneath the breast rail or feeders, should then carry this dirty water into a trapped drain rather than allowing it to wash into the collecting yard.
7. Parlour exit size
The exit should be big enough to accommodate one whole side of cows that are milked inside a herringbone parlour.
For example, Ian calculates that if a parlour has 20 units on one side, it would require an exit of 20×1.6sq m, or 32sq m.
“This allows you to get the whole side out of the parlour, close the gate and reload,” he explains.
8. Segregation gates
If a herringbone is the parlour of choice, work on the principle there must be room for one side of cows on exit before siting an automatic segregation gate.
For a rotary, allow enough space for eight to 10 cows minimum before the segregation gate.
However, if the segregation gate is manual, this must be within the operator’s line of sight, which may make it closer than ideal.
Common pitfalls and how to avoid them
- Have a contingency fund of 30% to allow for unknowns
- Ensure the parlour is fully operational from day one, rather than milking with snags
- Operate more than one source of water (mains, borehole or well) to give a backup and make sure pipe capacity and water flow are sufficient to cope if expanding cow numbers and installing a bigger parlour
- Consider building the parlour on the outside of the buildings rather than in the middle to limit disturbance to daily tasks while the build is happening
- Locate parlours as close as possible to the grazing platform, ideally in the middle to limit walking distances
- Ensure the working height is appropriate for an average-sized person, not the farm’s tallest or smallest operator. Clusters should be attached with arms at 90deg. Adjustable floors can offer greater working comfort, but they come at a cost
