Guide to managing an established on-farm woodland
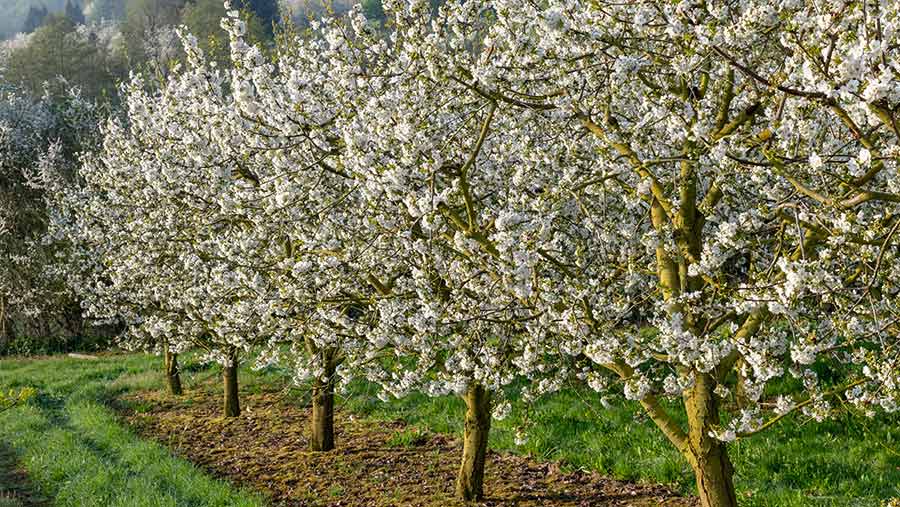 © Marcus Siebert / imageBROKER/REX/Shutterstock
 When the trees you have planted have been in the ground for several years they will have spread their branches.
You will probably notice different wildlife species appearing in your new wood such as bees and butterflies. Your livestock will also start to benefit from the shade and shelter your trees are providing.
As well as sheltering livestock and crops, your trees will provide a sustainable source of firewood, timber and coppice products.
By managing your trees effectively, you can harvest these products and enhance the woodland’s value for wildlife too.
See also: Ultimate Guide: How to plant trees on your farm
See also: How an arable farmer benefited from planting apple trees
Having a more diverse woodland structure, made up of trees of different species and ages, will increase resilience in the face of threats such as tree pests, diseases and climate change.
This guide will give you an introduction on how to manage your woodland in the early years after your trees have established.
Here you can find out more about how to ensure the trees on your farm can be part of a sustainable, productive, and healthy, wildlife-rich habitat.
Before you start
Understand your objectives:
Define your objectives clearly before you start any woodland management operations.
Create a management plan:
Develop a long term management plan for your trees and include your objectives and timescales.
Consider: Do you need a felling license? In most cases a felling licence is required to carry out felling operations. These are available from the Forestry Commission. However, there are certain cases where a felling licence is not required.
A licence is not needed:
- to fell less than five cubic metres in a calendar quarter;
- for small trees with a diameter of less than 8cm when measured 1.3 metres from the ground, or less than 10cm for thinning or 15cm for coppicing.
Check with your local authority if you are in a Local Conservation Area or if there are any Tree Preservation Orders on your land.
Look out for wildlife: Check for nesting birds, bats, dormice, badgers and other animals.
Be careful not to damage other woodland plants while working in the woods. Beware of soil erosion and run-off if the work causes any ground disturbance.
1. Coppicing
What is coppicing?
Coppicing is an ancient system of woodland management. It involves cutting trees close to the ground on a regular cycle.
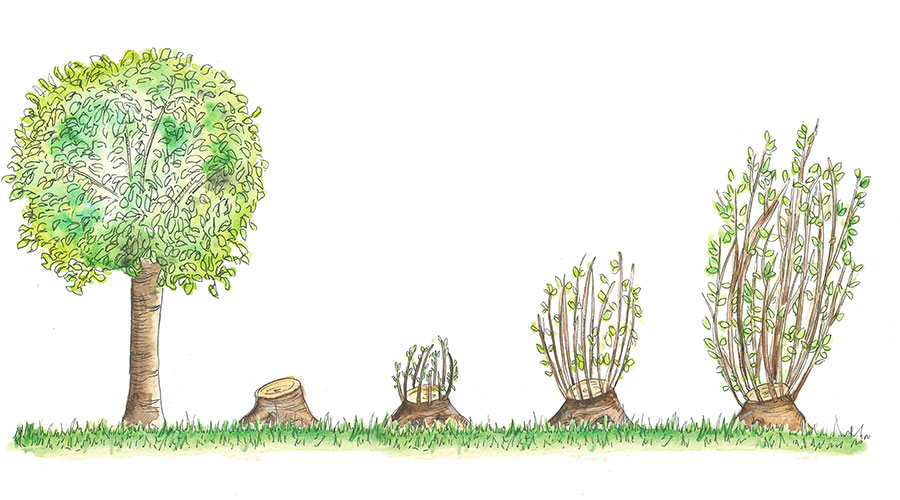
The cut trees regrow from dormant buds at the base of the stump (known as the stool) to create dense stands of multi stemmed trees. The new stems grow back more rapidly, providing a sustainable supply of timber for years to come, as opposed to harvesting more mature, thicker branches.
Which species can be coppiced?
Oak, sweet chestnut, willow, lime, hornbeam, field maple, rowan, alder and hazel are commonly coppiced, but most native trees can be managed in this way.
When to coppice?
You can start to coppice once your trees are growing vigorously. This could be after 1-2 seasons’ growth, but is usually 5-6 years after planting (or more in Scotland).
The best time to coppice is between late September and early March, when the trees are dormant.
How regularly you coppice depends on the tree species and the products you want to create. For example:
- Hazel – Seven year cycle for hurdle making
- Sweet chestnut – 15 year cycle for fencing materials
- Oak/hornbeam – 15-25 year cycle for firewood and building materials
How to coppice
Position of cut: Cut single-stemmed trees as close to the ground as possible and cut already established stools as close to the previous cut as possible.
How to cut: Use any sharp tool appropriate to the size of material you are felling. Ensure a clean cut with no separation of the bark from the wood. The cut should be sloped to throw off water and avoid the stool rotting.
Where to coppice: Coppice any areas of woodland in blocks, known as coupes. This allows enough light into the woodland to ensure regrowth of the coppice stools.
The size of your coupe should relate to the rotation length. Divide the woodland into equal blocks and coppice an entire coup each year. Some well-formed trees can be left within each coupe to establish a ‘coppice with standards’ system. Leave a standard tree as a marker at each corner of the plot. These trees will in time become majestic features of the wood.
Aftercare: To ensure a productive coppice, protect stools from browsing mammals. New shoots are particularly attractive to deer, rabbits, hare and other livestock.
To protect them:
Use branches left on the ground after cutting (lop and top) to pile on the coppice stool – be aware this may supress regrowth or reduce the straightness of new stems.
Use the lop and top to build “dead hedges” around groups of stools.
Fence the area. Fences should be six feet high and should remain in place for a minimum of two years until the new shoots are out of reach of browsing animals. You can rotate your fencing to different coupes throughout your coppicing cycle.
2. Pollarding
What is pollarding?
Pollarding is the regular cutting of the upper branches to encourage the regrowth of dense foliage at the top of the tree.
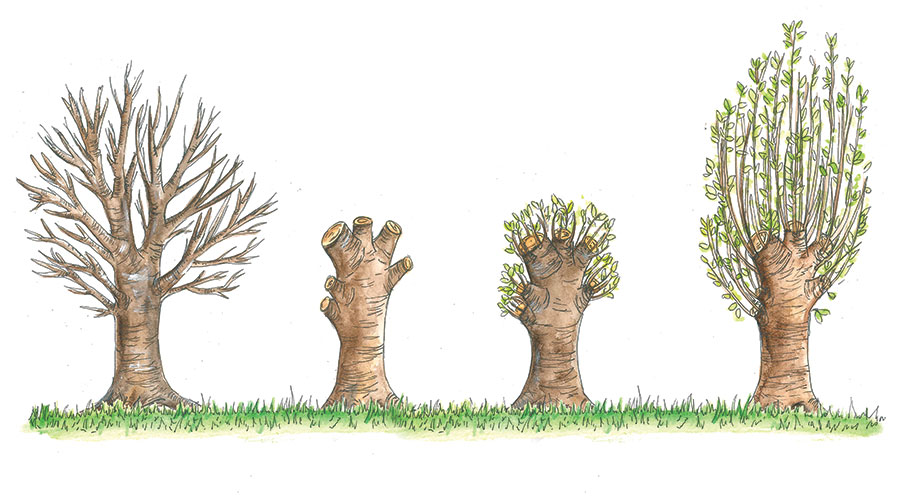
The cut branches can be used for firewood, building materials and other coppice products. More traditionally, pollarded branches were used for animal fodder. Opening up the tree canopy in this way increases woodland light levels and benefits the ground flora while making it more productive for grazing.
Which species can be pollarded?
Willow, ash, beech, hornbeam, lime and holly are traditionally pollarded for tree fodder, but most native trees can be managed this way.
When to pollard
Make the first cut on a maiden tree in winter. Do this once the tree has grown above the height at which you want to maintain the pollard. It is best to do this when the tree is young, usually around 5-15 years old. Larger trees can also be topped and established as pollards – success depends on the age, species and level of shading.
Re-pollarding can be done in winter for firewood and building materials. Cut your trees to create tree fodder in summer on a short rotation.
How to pollard
Cut your tree so it is out of reach of any potential browsing animals:
- 1.2m for roe deer and sheep
- 1.5m for fallow deer
- 1.8m for red deer and goats
- 2m or more for large cattle
3. Formative pruning and thinning
What is formative pruning?
Formative pruning is the management of young trees in order to manipulate their shape as they grow. The desired shapes and methods of pruning depend on the tree species and your objectives.
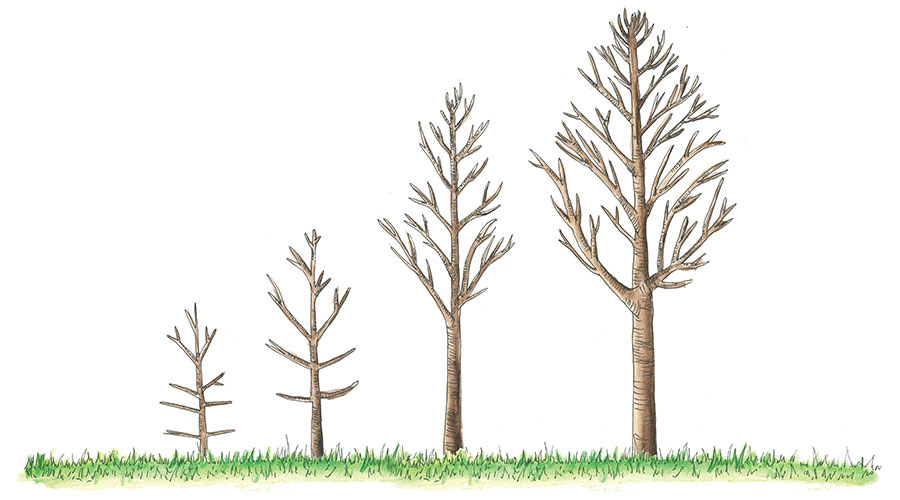
Select the best trees for harvesting early in the young woodland’s life and clearly mark them. The most valuable trees for timber have long, straight, branch-free stems.
When to prune
The best time to remove live branches is in early spring, just before trees come into leaf so that wounds can begin to heal straight away.
However there are some exceptions:
- Walnut—prune in July and August, to avoid excessive bleeding from pruning wounds.
- Cherry—prune in July and August, to minimise risks of infection by bacterial canker and other diseases.
Do not prune any species during periods of very low temperatures or severe drought.
How to prune
Remove the side branches while they are small ensuring a good clean cut. This can be done with secateurs initially, but a long handled pruning saw will be needed eventually.
To grow tall straight trees for timber, remove the side branches as the tree grows. This raises the crown and allows a long knot free trunk to develop.
To manage fruit trees, prune to retain a low open crown to allow lots of sun onto the ripening fruit.
4. Thinning
What is thinning?
Thinning is the removal of some trees within woodland. As the trees reach 10-15 years old, they begin to compete with each other for space, light, and nutrients and the growth-rate starts to slow.
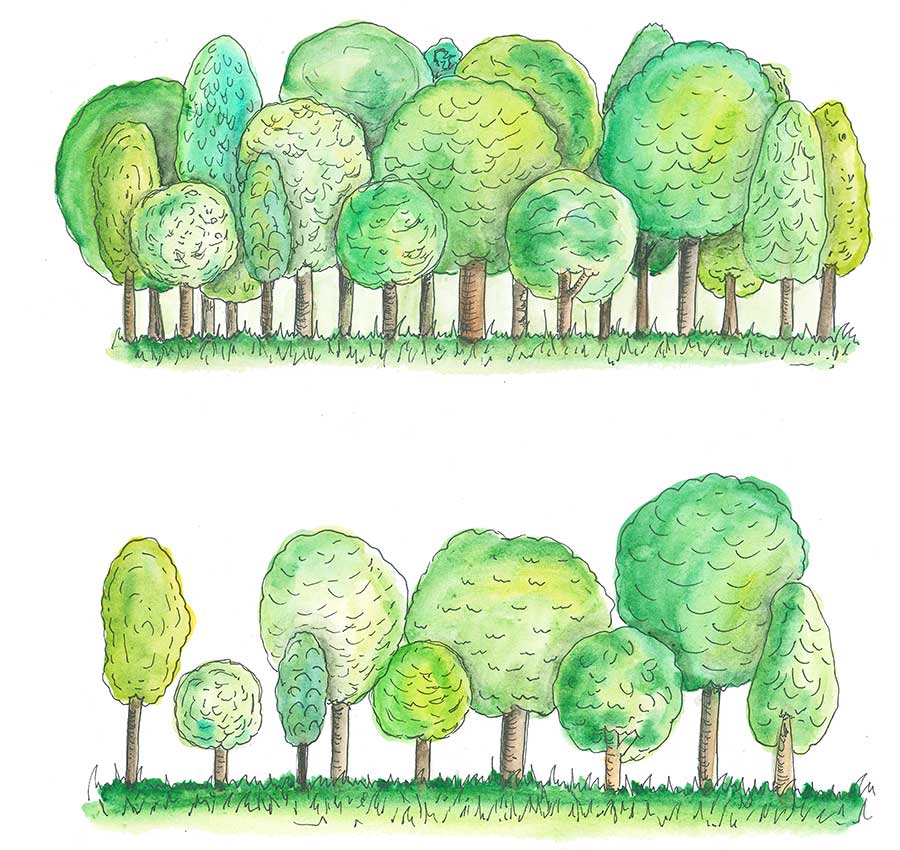
Thinning makes sure that the best trees grow at the fastest rate, allowing a more diverse woodland structure.
Which species can be thinned?
Most native broadleaf trees can be thinned. Conifer species can also be gradually thinned out of plantation on ancient woodland sites, slowly increasing light levels and encouraging sensitive, native species to naturally regenerate.
When to thin
Time your work in order to avoid bird nesting season.
How to thin
Select the best formed trees to keep and remove the surrounding trees, giving them more space to grow. Thinning is done gradually over many years, removing a few trees every five or 10 years.
If your young trees are planted close to existing, mature trees, consider halo thinning. Removing newer trees from around the mature tree ensures that it is not out-competed by younger neighbours.
Take care not to damage the trees that you want to keep.
Thinning often requires a felling license. These are available from the Forestry Commission.
Find out more
For more guidance on how to manage your woodland, visit the Forestry Commission, forestry.gov.uk
Want to plant more trees?
If you want to plant more trees on your farm, the Woodland Trust can help you. Their woodland creation advisors have years of experience in advising farmers on the benefits of trees.
You can receive:
- tailored advice
- grants and funding
- trees and protection
Find out more at woodlandtrust.org.uk/plant
