7 steps to successful subsoiling
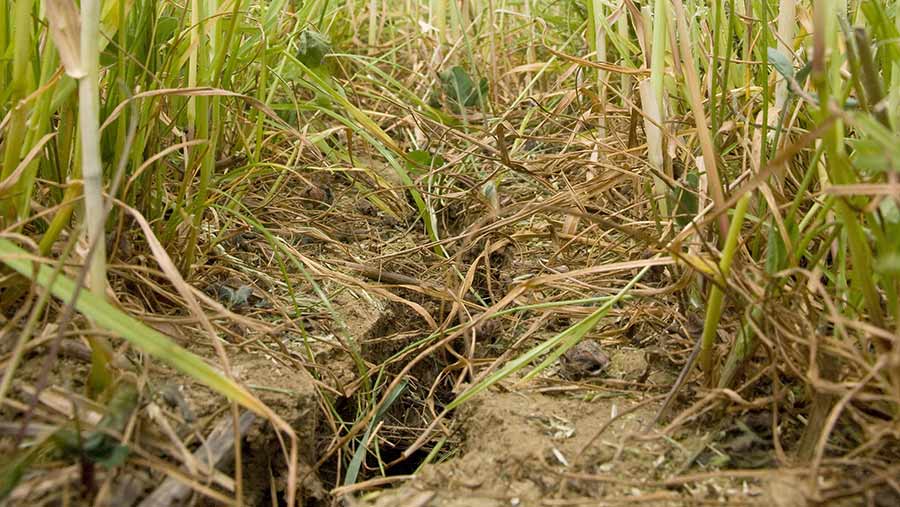
 Natural shrinkage resulting from this summer's drought has effectively subsoiled some fields © Tim Scrivener
 Subsoiling can be effective technique to solve soil compaction problems. However, if done at the wrong time or incorrect depth, it can cause more problems than it solves.
Soil compaction can be a serious problem, especially on field headlands. Not only does it result in reduced crop yields, the resulting poor drainage can lead to costly delays in getting on fields in spring for drilling or spraying.
One option is subsoiling, although cultivations expert Philip Wright at Wright Resolutions only recommends it when absolutely necessary.
See also:Tips on selecting the right cultivator for your soils
“Pulling metal through the ground doesn’t solve poor soil structure,” says Mr Wright.
Soil structure improves through nature – physical interactions like shrinking, freezing, drying and cracking as well as the biological effect of worms, plant roots and fungi.
“You have to help nature do the job, which is where metal can come in”, says Mr Wright. Here are his seven top tips for successful subsoiling.
1. Identify compaction problems
Farmers are advised to monitor yields in areas that are prone to traffic damage, both at harvest time and when the soil is moist, says Mr Wright. Poor yields may be a sign of compaction.
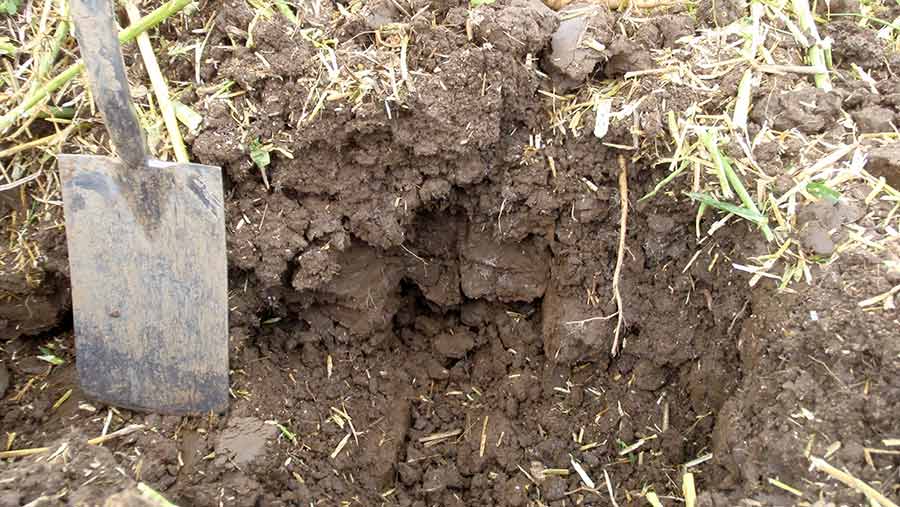
“Get a spade out and dig down – see what’s happening.”
Classical signs of compaction include differing moisture levels – there will be a sudden change in moisture at a certain depth in the profile. And if there is a change or absence of roots, look closer.
“The only thing that may be misleading is the change between topsoil and subsoil, which can be a red herring, so be clear on what you are checking,” says Mr Wright.
Once you have identified a potential problem, check different areas of the field to see if it is widespread – then you can address those areas and only remedy where required.
“There’s no point in subsoiling a field with good soil structure – you will cut the natural channels and make it worse,” says Mr Wright.
2. Have you already subsoiled?
Due to the nature of the dry summer, some fields may have been naturally subsoiled, explains Mr Wright.
“The very dry period produced very similar cracks with the same action – if that’s happened, then the farmer doesn’t have to do much now – they have actually subsoiled this year.”
But Mr Wright points out that it doesn’t happen every year. “We’re encouraging people to appreciate what the weather has done and make sure it lasts for a number of years.
“These conditions resulted in a lot of natural shrinking and cracks, so in effect we have to avoid undoing it by minimising compaction, cultivations and overworking the soil.”
3. Get the timing right
Timing is everything with subsoiling. In the latter part of autumn the soil will often become too wet, therefore, the time to subsoil is early autumn, says Mr Wright.
For farmers who have winter oilseed rape as a part of their rotation, a good time to subsoil is ahead of drilling.
Oilseed rape is very responsive to subsoiling because it is lazy when rooting and responds poorly to compaction, he adds.
Therefore, loosening the soil ahead of winter oilseed rape will help establishment.
However, it is not a good idea to subsoil and then leave the land fallow, warns Mr Wright. “Put some roots in to stabilise the soil and exploit the structure.”
Subsoiling is also an option for those growing or planning to plant cover crops if there are concerns that the roots won’t go through the soil to the required depth.
“Cover crops can grow down and exploit the soil, but if they don’t it is also possible to subsoil with low-disturbance legs through growing cover crops to give them a new lease of life in poorly established areas – in effect a form of sward lifting.”
4. Think about soil type
Some soils benefit from subsoiling – for example, soils that have had intensive root crops in them.
Soils with a low calcium content that are high in silt or sand and low in organic matter will benefit the most – as will the type of ground that slumps over time or is subjected to heavy rainfall before crop cover.
“The only way to check the severity of the problem is to get the spade out.”
If the farm uses the same tramlines every year, Mr Wright suggests positioning staggered tines either side of the tramline to loosen the soil.
However, if the farm is using different tramlines every year, it is important to loosen soil down the centre of the tramline.
5. Subsoiling depth
To relieve compaction, it is important to subtly lift the soil and stretch it – to create vertical cracks – this is where it is vital that the soil is dry enough to crack. If it’s too wet it will be like plasticine and won’t shatter.
The vertical cracks are important so that the roots can bore into the soil, while the aerobic conditions assist biological activity to stabilise it further.
If there is a hard pan that needs to be broken up, the soil below the pan is often protected by this layer.
This soil is usually in good condition, so working too deep into this will take extra energy and may even make things worse, says Mr Wright.
The vast majority of farmers are soil loosening at eight or more inches, but most don’t have to go that deep, says Mr Wright. “Question whether you’re going too deep – it’s likely you are.”
One of his main tips is to avoid cultivating at the same depth year-on-year. “It’s the same as ploughing – it creates a weakness at that depth. Vary the depth and go shallower rather than deeper.”

Man-made vertical cracks in compacted layer below cultivated surface
6. Type of kit and setting up
For every 5cm of depth, the force [draught] needed to pull the tines through the ground almost doubles, as well as increasing fuel consumption, says Mr Wright.
He recommends low-disturbance tines, to lift and stretch with just enough height to crack the soil. Keep subsoilers with and without wings at a low angle of lift.
The steeper the angle, the greater the risk of lifting and boiling of the soil. However, the deeper you are working, the higher the lift will need to be.
Consequently, increased lift should be by using longer, rather than steeper, wings.
The subsoiler should have one lead cutter disk per leg, as this should cut any large clods and the mass of previous crop roots near the surface, to encourage these to flow either side of the leg.
When spacing the tines on a winged subsoiler, Mr Wright suggests multiplying the tine depth by 2 or 2.5. Therefore, 30cm deep would become 60-75cm apart.
7. Check your settings
Once the machine is set up, he recommends pulling forward a few yards at full speed and then checking it’s doing the job properly.
“Dig across two tines all the way from one to another to make sure you’ve achieved vertical cracks. Then continue digging past the outermost tine and compare.”
When loosening the soil, make sure it hasn’t smeared and pushed the soil upwards, as this produces a channel that is ineffective.
Mr Wright has one final tip for anyone considering subsoiling, which is particularly relevant this year: “Less is more.”
He summarises by urging: “I would default everyone to not subsoil, but if you have to, do it as efficiently and with as low disturbance as possible. Check where the problem is, then only go just deeper than the problem.”

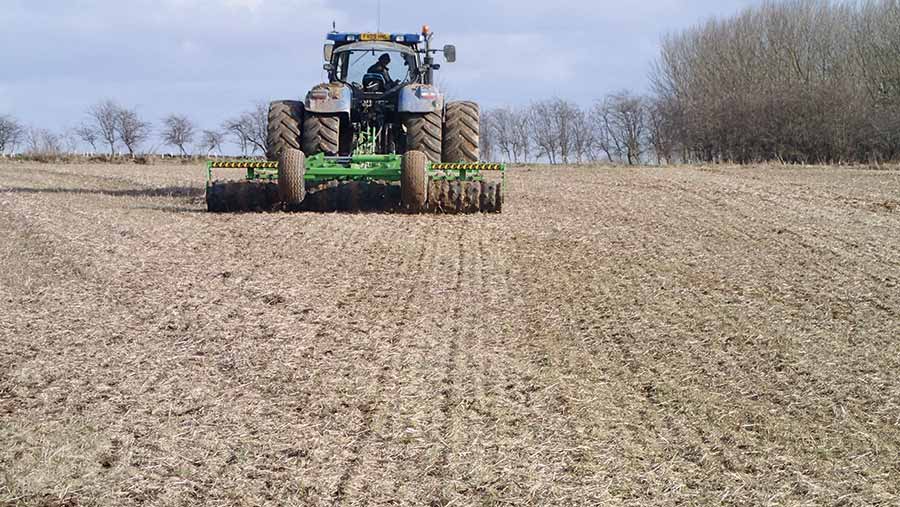
An example of very low surface disturbance soil loosening to 18cm depth

