
Workshop tips: How to make the perfect MIG weld
Having spent more than 35 years teaching the agricultural fraternity to weld, Derbyshire farmer Richard Archer knows a thing or to about joining bits of metal together.
His welding career started in the mid-1970s, patching up equipment on the family dairy farm.
That led him to train for a further two years to obtain City and Guilds welding qualifications, before starting to teach other people the craft in 1980.
See Richard Archer’s other workshop tips:
Since then he’s taught hundreds of farmers and farmworkers to weld through a series of college courses and on-farm courses with the former Agricultural Training Board and now Lantra.
© James Andrews
He also acts as an external quality assurer for City and Guilds at agricultural training centres and colleges and presenting at HSE safety awareness events around the country.
See also: Five 18V cordless grinders on test
Archer’s advice – MIG welding
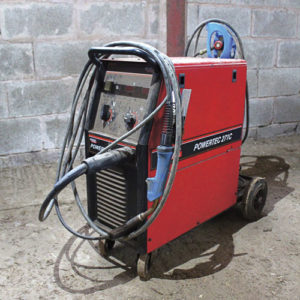
MIG welders are now a common sight in farm workshops, particularly among farmers who like to fabricate equipment from new metal or weld thinner material.
But unlike arc welding, where a tidy weld is almost always a strong one, a MIG can easily produce a good-looking weld but weak result. Therefore, it’s crucial to get the settings right.
Direction of travel
A MIG welder doesn’t burn in as deep as an arc welder so you need to push the torch to get decent fusion.
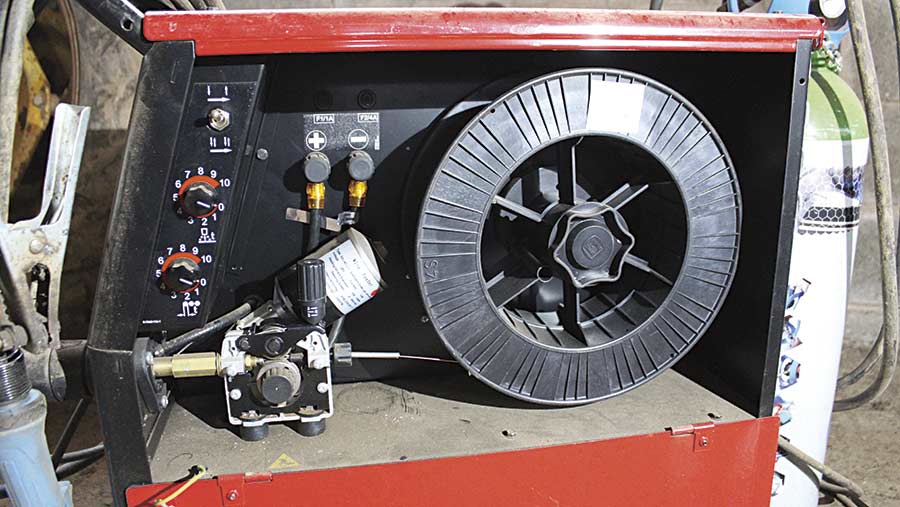
Voltage and wire speed

Richard Archer © James Andrews
One of the trickiest challenges with the MIG is balancing the voltage and wire speed correctly to produce dip transfer. This is where the electrode wire burns off in the molten pool of metal.
As you increase the voltage, the amount of heat generated goes up and the fusion will increase. Therefore, you have to increase the wire speed to match it.
Get it too slow and wire will burn off too early causing a hissing sound – it may even burn back and stick in the contact tip.
But if you set it too fast the wire can pass trough the melting pool of weld too quickly and stub into the metal you’re welding. When you get it right, the welder should be cruising along with a lovely crisp crackle.
Contact tip size
Make sure you are using the correct contact tip for the diameter of wire.
The contact tip should be the same size as the wire being used, as this is where the power connects with the wire.
Shielding gas
A shielding gas mixture of argon and carbon dioxide is usually used for most farm welding and is suitable for most steel welds.
The gas flow rate will be set to a pressure of about 15-20 litres/min, which should ensure clean welds. The shielding gas is used to prevent oxygen from the atmosphere mixing with the weld metal.
Just remember that gas will be blown away if you try and weld outside or in a workshop doorway with a breeze passing through.
© James Andrews
Also, if air gets into your weld, you can end up producing an Aerobar effect, which has no strength whatsoever. This can be seen clearly if the gas is not switched on or runs low.
If you do need to weld with the MIG outside you can get a reel of flux core wire, which means you don’t need to use the gas shield, but is more expensive.
Wire thickness
For general farm use, a mild steel wire with a thickness of 0.8 or 1mm should do the trick. But if you want to weld thinner sheet metal then consider dropping down to 0.6mm.
Remember to change the contact tip and the feed roller when you switch wire size.
Keep the wire dry as although it is copper coated, this is mainly to allow a good electrical contact and will not prevent rust.
Different wire types
Like an arc welder you can get specialist wire for a MIG. If you want to weld with aluminium wire remember to change the liner in the wire feed tube to a nylon version.
If you keep the standard steel liner the soft aluminium wire can kink and form a “bird’s nest” after the feed rollers. The feed rollers and the shielding gas will also need to be changed.
Return cable
With a MIG welder it’s crucial to get a good contact on the return cable clamp (often called earth clamp). Ideally, clamp it to bare, clean metal on the work itself and not to the workbench.
Weld strength test
If you’re worried about the strength of your MIG welding you can do a simple workshop test.
Just weld two pieces of metal together at 90deg (fillet weld), clamp them in the vice and whack them with a lump hammer. Deliver the blow as if you’re trying to close the two bits of metal together with the weld in the middle.
If the weld refuses to break you know it’s strong. But if it pulls away from either plate without removing some metal, you know you haven’t got good enough fusion.
