Video: Step-by-step guide to disbudding calves
Disbudding calves can be a stressful job for both calf and farmer.
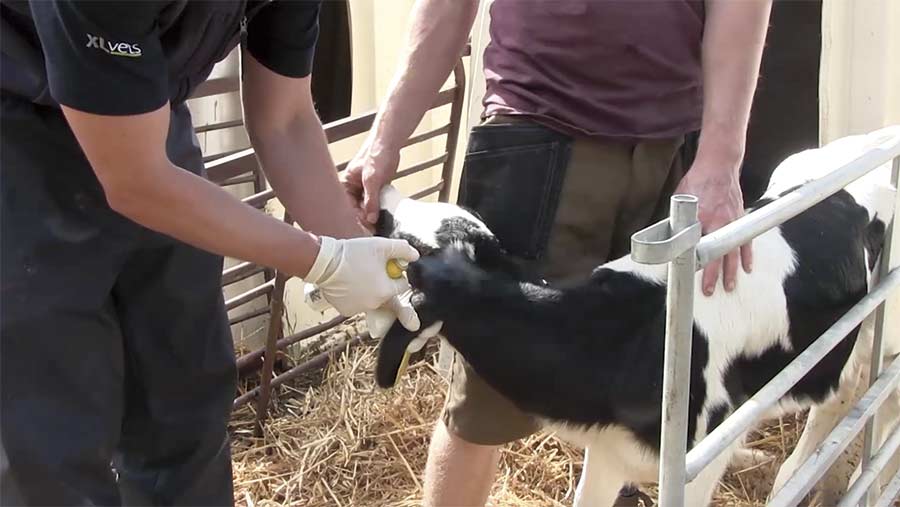
In this six-step guide, vet, Sean Hughes, from Shropshire Farm Vets, takes us through how to disbud a calf correctly and safely, from handling to application of anaesthetic and effective removal of the growth tissue around the bud.
Watch the video and read the step-by-step guide below.
Disbudding tips
- The younger the calves are the better
- Ideally, they should be between two to three-weeks-old at disbudding. At this age, they should be up to full milk volume and be over their highest risk of scour
- Avoid carrying out the procedure at weaning as this will increase stress and could lead to a drop in growth rates and the onset of pneumonia
1. Restrain the calf and feel for buds
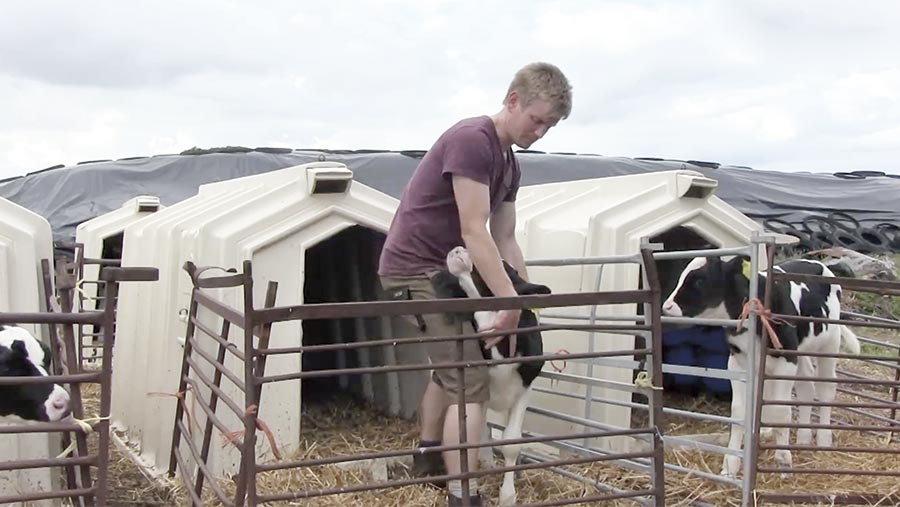
For a large number of calves, investing in a crush is definitely worthwhile.
But, providing calves are young enough, they can be safely disbudded inside their pen or hutch. Simply back the calf into a corner where it is secure and then gently push them and carefully manipulate the head round to present the horn bud.
Simply back the calf into a corner where it is secure and then gently push them and carefully manipulate the head round to present the horn bud.
See also: Why feeding more milk to calves is more cost-effective
Feel for the bud to check there is one, as some animals will be naturally polled.
Buds should feel hard and round.
At this point, you may also find it useful to clip the hair around the horn so it is easily visible.
2. Administer anti-inflammatory
© Rhian Price
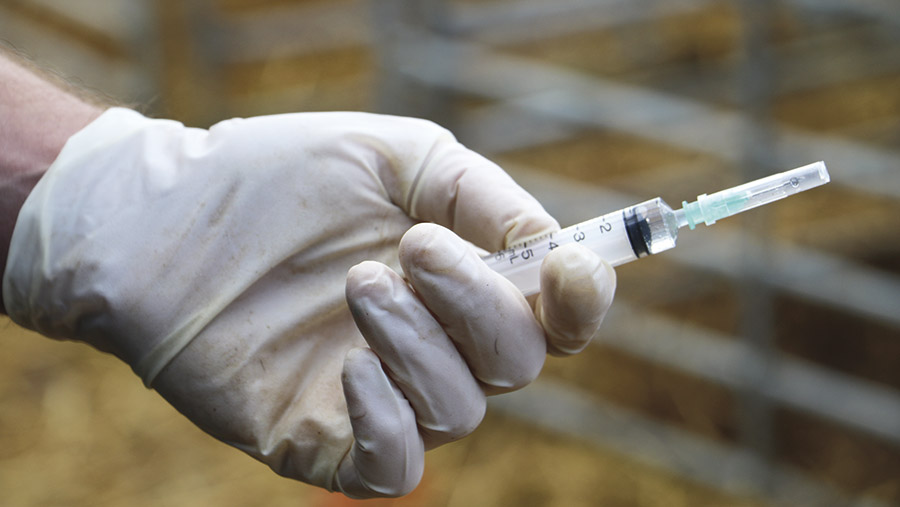
Administer this prior to disbudding to ensure it kicks in before the local anaesthetic wears off so the calf remains comfortable throughout.
Always read the label to ensure you are giving the animal the correct dose and in the proper manner, as products will differ.
3. Administer local anaesthetic
© Rhian Price
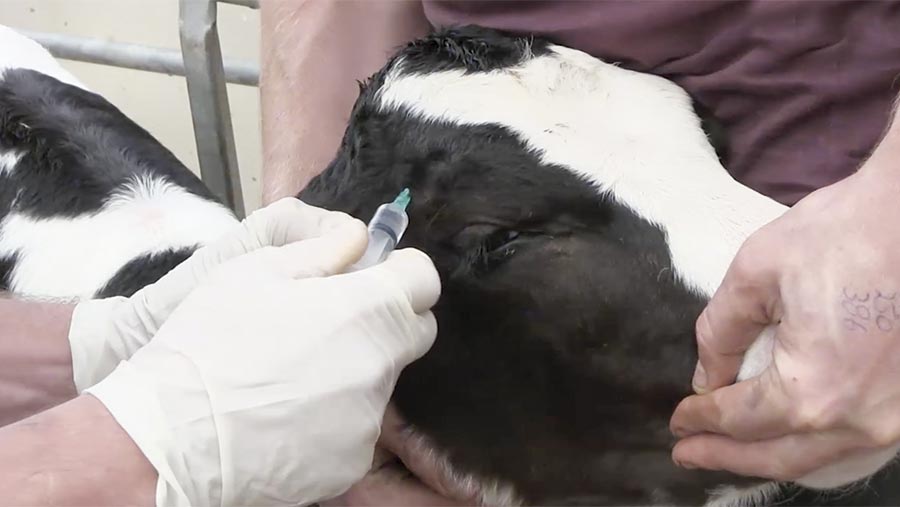
This is essential to ensure calves remain comfortable throughout the procedure.
The best place to apply anaesthetic is between the base of the ear and the corner of the eye.
To identify the correct spot feel for the bony ridge area running just along the skull.
Below this, there is a slight depression.
Insert the needle at this point, about 0.5cm in. Draw back and check there’s no blood in the syringe. This is a sign you’re injecting into the blood vessel which will result in anaesthetic being injected into circulation.
See also: ‘Urgent action’ needed on pain relief for calf husbandry
However, if there’s bleeding from the injection site you are likely to be in the right place, as the vein, artery and nerve all run together and this shows you’ve injected through the blood vessel and in the correct place.
How much you apply will be dependent on the calf weight so always read the label carefully, but typically a 40kg calf will need 2ml.
Wait for five minutes for the anaesthetic to start to work.
4. Heat the burners while you wait
There are different types of disbudding irons including electric and gas heated ones.
Always test if they are hot enough prior to use.
This can be done by placing a piece of straw on the iron. It should burn immediately.
Gas and electric burners tend to cool down between buds so you may need to wait for it to heat up again.
5. Check to see if the anaesthetic has worked and remove the horn bud
© Rhian Price
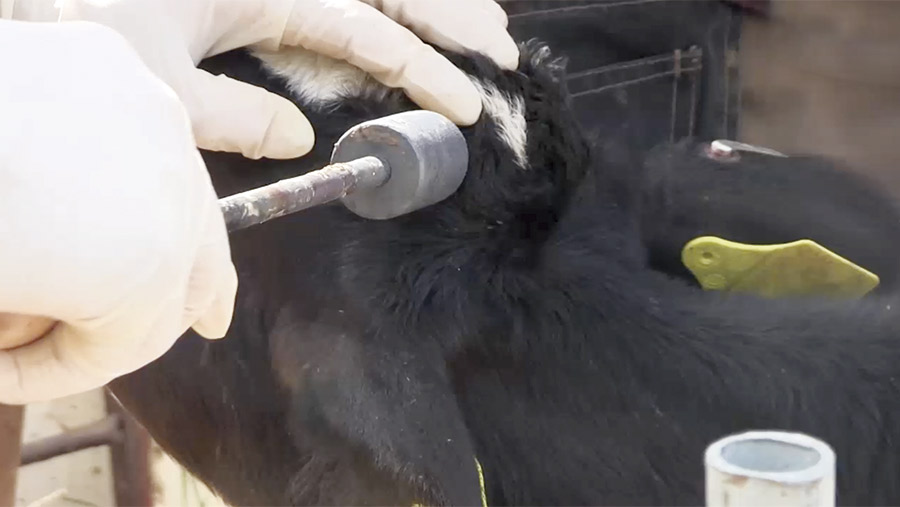
Use a needle to prick the base of the horn to check the anaesthetic has worked. The calf should be non-responsive. If the calf reacts it requires more time or more anaesthetic.
Another sign which indicates it is effective is droopy eyelids.
Feel for the horn bud once more. Apply the iron directly over the bud for two to three seconds and then rotate it 360deg around the bud to burn all of the growth tissue. Then, push the iron underneath the bud to scoop it out.
Check the horn-producing tissue has been destroyed by looking for a brown/copper colour circle.
6. Antibiotics spray
© Rhian Price
Apply an antibiotics spray to the burned area. At certain times of the year, you may also want to apply fly repellent.
Monitor calves for 24-48 hours for infection (although this is low risk). Signs of infection include weeping and significant swelling.
If the area is infected consult your vet.
