
7 brooding management tips for healthy broiler chicks
 © Cobb-Vantress
 Brooding is all about building the foundation for a broiler’s life, according to Brendan Graaf, broiler specialist for Cobb-Vantress.
“Chicks go through a lot of stress during the hatching process, vaccination and transport. We demand a lot from them,” he says. “Brooding should be focused on trying to reduce as much of that stress as possible.”
Brendan outlines what he sees as the most important factors in achieving a correct chick start.
See also: How a broiler unit slashed energy costs by collecting data
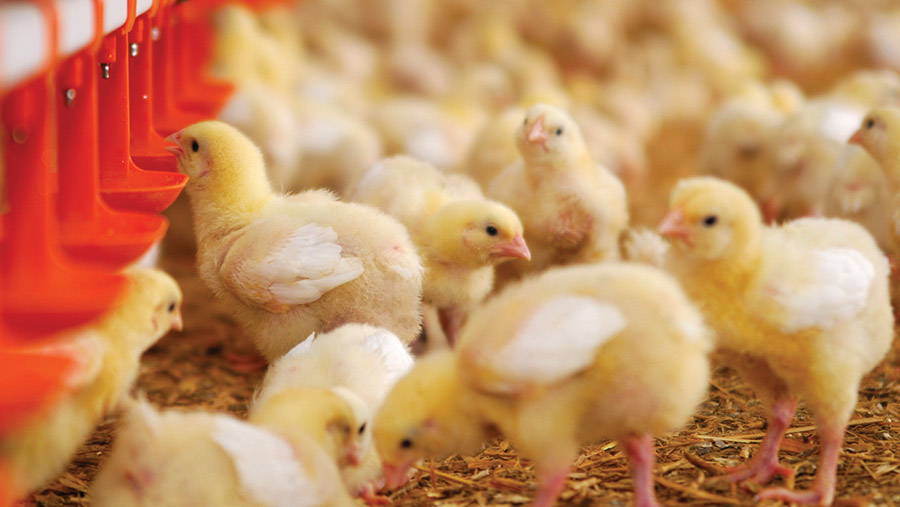
1. Chick handling
Before being placed on the farm, chicks should be held and transported with the correct temperature and airflow for their needs.
If they arrive huddling, it is a sign that conditions are too cold, while panting is a clear sign they are heat stressed, he says.
When tipping chicks on a farm, boxes should be held flat and placed evenly throughout the brooding area. Boxes should be tipped gently from below the knees, so that chicks land directly on lines of paper and feed.
Chicks should be dropped no more than 15cm.
“It’s about working methodically, with a steady, quiet manner,” he adds.
© Tom Wareham
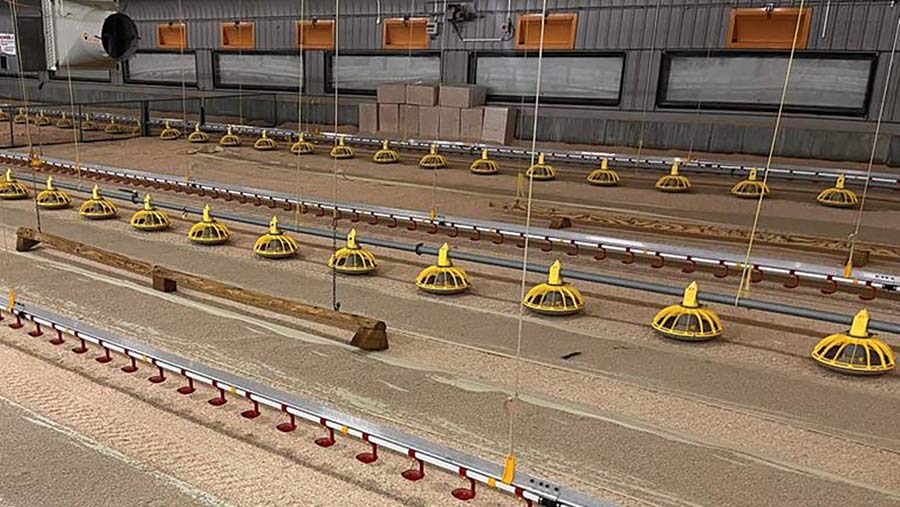
2. Feed
Early feed intake is critical to getting birds off to a good start, with stimulation of the gut, musculoskeletal development, and growth of internal organs as key objectives for the first seven days.
Brendan explains that enough chick feed must be available and evenly spread around the brooding area.
He recommends the use of supplementary paper beside the drinker lines, with feed placed on top – 75g a chick – covering about 50% of the placement area.
Observation is critical to making sure there is plenty of feed available while also minimising wastage.
“There’s always going to be chicks that are more hesitant and take longer to find the feed. That is what we are trying to achieve by having an even availability of feed and paper,” he says.
“We want a uniform flock at the end of the day.”
3. Water
Bacteria can translocate through the gut and create early infections in flocks.
“Water has got to be clean,” says Brendan, adding that terminal disinfection of drinker lines is an essential step.
He recommends hydrogen peroxide stabilised with silver nitrate as one of the best chemicals for the process.
Water lines should be flushed regularly in the first week to prevent the build-up of biofilm in drinkers, ideally three times a day.
This also has the added advantage of lowering the temperature of the water in the lines, which improves its palatability to the chicks.
Drinker height must be at chick eye level, and Brendan recommends setting pressure to generate a flow rate of 40ml/minute.
4. Lighting
Bright and even distribution of lighting is required for the first week, with less than 20% variation in different parts of the house. Light intensity needs to be at least 25 lux, with 40 lux the ideal.
“Lower lighting can lead to poor uniformity, with birds in darker areas not achieving their feed and water intake,” he says.
“The best light to put in is a poultry-specific LED, which should ideally be dimmable with no photometric flicker.”
Although lights can be on for the first 24 hours, a dark period needs to be introduced the following day. Chickens require a sleep period for melatonin production and the regulation of crucial bodily functions.
5. Air quality
“We want chicks to be placed into a fresh environment,” says Brendan. “You should have ventilation running before they are placed in the houses.”
Keeping carbon dioxide levels below 3,000 parts/million is critical in the first few days. As moisture builds up in the houses, fresh air should be provided to enable humidity to stay below 65%.
Houses should be tightly sealed and air should only come in through the inlets. This allows the incoming air to warm before it meets the chicks and removes some of the relative humidity within the air space.
6. Temperature
A basic brooding temperature of 32C is required for chicks, although account must be made for relative humidity, as this can have a significant impact on how the chick feels.
“We are trying to keep birds in their thermo-neutral zone,” he explains.
“It’s about looking for signs that the birds are too warm, which can be seen through leg and wing spreading and panting. On the other hand, if you see chicks huddling, they are likely too cold.”
Preheating houses is essential to ensure that floor temperatures are adequate, as chicks can quickly lose heat through their legs.
7. Targets
Checking that the birds are making correct progress is critical. Crop fills can be checked at 24 hours, when they should show that 95% of birds have found feed and water.
“If you only get 60 or 70%, then you know something is wrong,” says Brendan.
Weight gain is another key measurement for ensuring that brooding has been optimal. At seven days, the weight of the chick should be 4.5 to five times the day-old chick weight.
Case study: EC Drummond
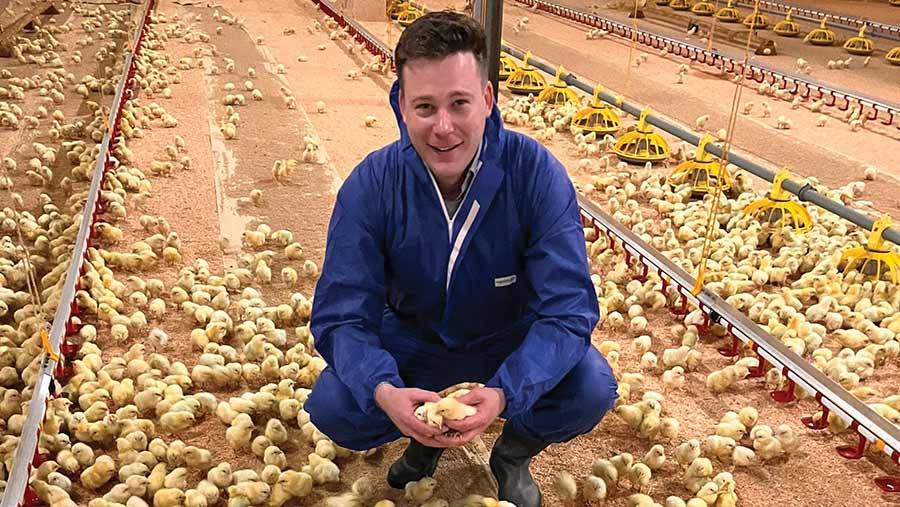
Tom Wareham © Tom Wareham
EC Drummond is one of the largest growers in the UK, running a total of 34 broiler farms across England and Wales, using predominantly Ross 308 genetics.
The company has made some key improvements to brood management in the past 18 months with help from broiler consultant Chris Durrant.
The brooding process begins four days before the chicks arrive, when floors should be preheated to 31C prior to placing bedding.
When bedding is spread, the farms make sure that depth is evenly with adequate coverage at the sides of the sheds and particularly around the doors.
“We were finding we could have 3-5cm in the centre of the shed, but only 0.5cm on the outside,” says head of broiler production Tom Wareham.
“We use a number of contractors, and the farm manager has to make sure they achieve the right spread all over the shed.”
Transition to feed pans
EC Drummond tends to find that 75g of feed a bird on paper is the “magic number”, but Tom says it can be reduced if birds are transitioning quickly from paper to the feed pans.
“If we still have feed on the paper at day five and the birds are happily eating out of the pans, then we need to reduce the feed on paper.
“It reduces feed wastage and is an opportunity to gain a better feed conversion ratio.” He insists that paper is lifted by day five, if it has not already broken down, to avoid litter capping.
Lighting is used to stimulate early chick activity, and some farms tip chicks with the shed windows open initially to encourage spread across the house.
Lighting is turned up to about 35 lux for the first six hours to stimulate activity. This is followed with a crop fill assessment at four to six hours.