
5-step guide to reducing silage losses
With silage losses as high as 40% in clamps and 8% in bales, AHDB Beef and Lamb and silage expert Dr Dave Davies offer their advice on best practice when making and storing silage.
Dr Davies is working with AHDB Beef and Lamb on a project to understand the factors that lead to improved silage quality.
He maintains that poor management practices when making silage can harm animal performance and cost farmers money.
© Tim Scrivener
“Losses of silage dry matter have been estimated to be between 25-40% in clamps and 0.2-8% in bales,” he says.
See also: 6-step guide to successful maize establishment
“Recent work estimated that aerobic spoilage during feed-out had an annual cost to UK farmers of £170m.”
Losses can occur at every step of the process and are estimated to be about:
- 4% in the field
- 5% during filling (respiration)
- 3% effluent
- 5% fermentation
- 10% aerobic stability
Given the scale of these losses, Dr Davies calculates that, for 1,000t of clamp silage, a value of £3,500 is lost. We look at five steps which can help prevent these losses.
Reducing losses in clamp
Step 1: In the field
To avoid losses in the field, farmers should pay close attention to cutting height and date.
Agri-Food and Biosciences Institute (AFBI) research shows quality silage is “critical” to achieving good animal performance.
It says for each unit increase in silage D-value, milk yield increases 0.3 to 0.4 litres a day a cow. However, a week delay in cutting from mid-May typically results in a D-value reduction of three – or a fall of 1-1.2 litres a day in milk yield a cow.
It suggests farmers should target high-quality grass with a D-value of 70-73. This which means cutting before any seed heads appear, which is normally in early to mid-May.
If about 50% of the sward is showing seed heads, the D-value will be closer to 67, it says.
It adds that delaying harvest for too long for a good yield only produces more stem of lower quality and reduces the yield of the second cut.
Step 2: Preparation
- Remove any old, mouldy or rotting silage and clean thoroughly
- Ensure silo walls are airtight – use a side sheet as it is almost impossible to obtain a good seal from oxygen without one
- Check there is adequate effluent drainage at floor level
Step 3: Filling the clamp
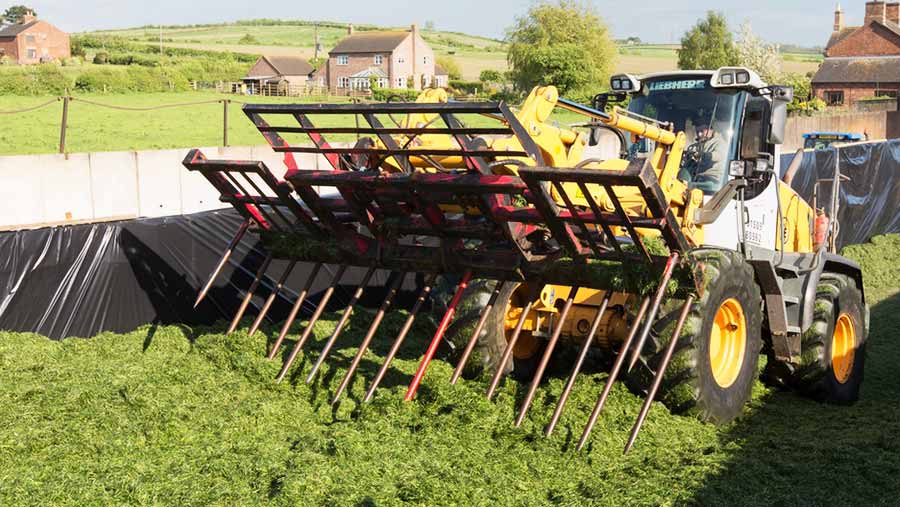
© Tim Scrivener
- Fill rapidly
- Spread silage evenly
- Consolidate well
- Pressure exerted under the wheels of a heavy tractor will only be effective down to 20cm depth
- If silaging continues the next day, sheet down overnight but do not roll the following morning as this creates a vacuum and pulls more air into the silage
- Aim for 250kg DM/cu m or 750kg FM/cu m. This will improve quality and reduce dry matter losses and aerobic spoilage at feed-out
- Do not over fill a clamp. Compaction above the walls is at least 10% lower than if the silage is level with the walls
Step 4: Sealing the clamp
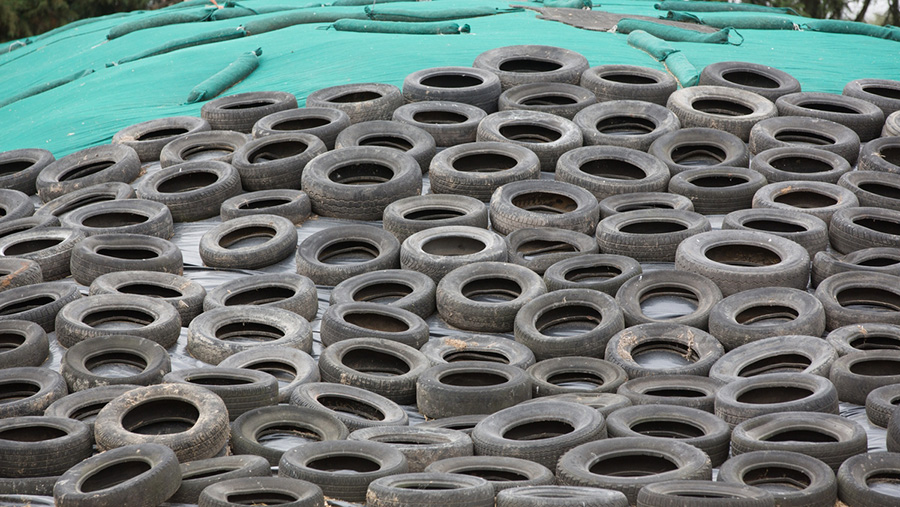
© Tim Scrivener
- Seal the clamp as soon as consolidation is complete with two sheets of plastic
- Use a thinner oxygen barrier sheet first and a thicker protective sheet above it. Alternatively use a new sheet covered by last year’s old sheet
- Place tyres or bales on top and ensure all tyres touch each other
- Use netting to protect from birds to ensure the sheet is not punctured
- Make sure that unroofed clamps shed rainwater evenly and freely and that rain does not seep into the clamp
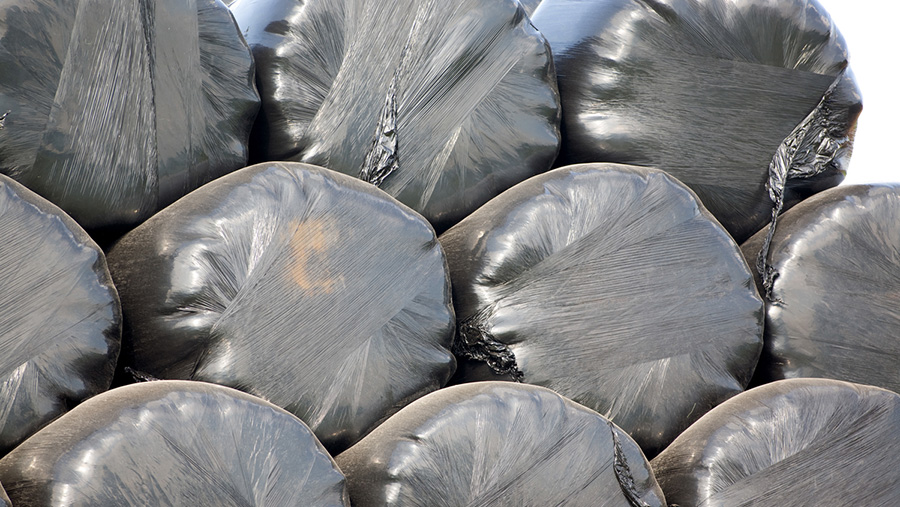
Step 5: Reducing losses in bales
© Tim Scrivener
- Silage destined for bales can be wilted to 35-45% DM. Drier crops are lighter, but are more prone to moulds and are used less efficiently by livestock
- Aim for dense, well-shaped bales to produce heavier but fewer bales a hectare, reducing baling and wrapping costs
- Use net wrap that also covers the edge of the bale by 2-5cm to help remove lumps and bumps. This will improve wrapping and reduce the amount of trapped oxygen
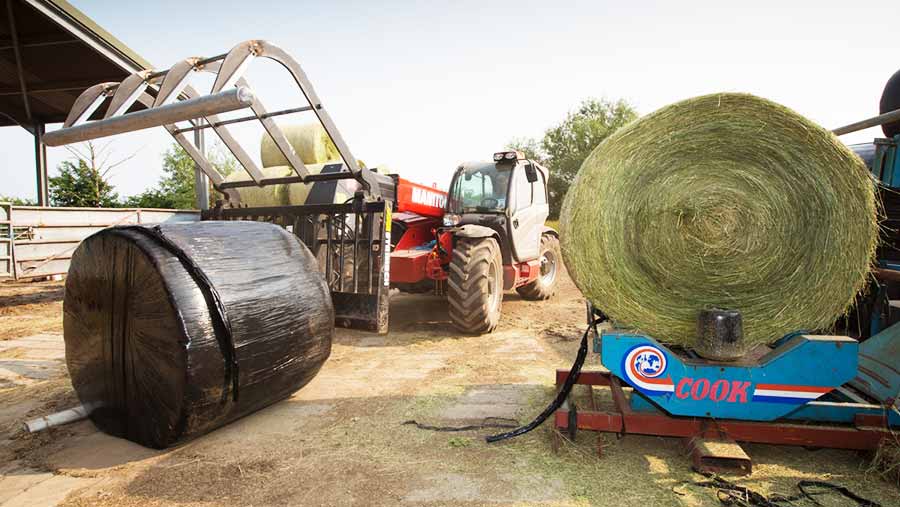
- Wrap as quickly as possible and within 12 hours of baling, preferably at the store site
- Move to the store site as quickly as possible. Do not leave in the field, removal two weeks later is likely to cause more problems of mouldy silage than moving after two or three days
- Use high quality film with 55-70% pre-stretching and make sure there are six layers of wrap
- Handle and store wrap carefully to avoid damage
- Bales within the stack retain their quality better than bales on the outside, so place the best silage within the stack
- Net and bait stack to prevent bird and rodent damage