Tips for buying a used muckspreader
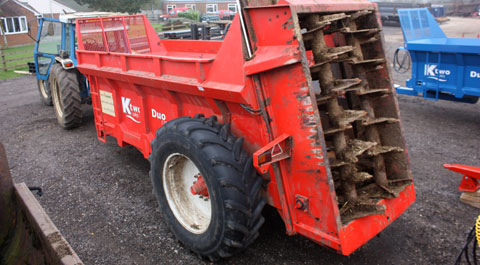
If there’s one farm machine that open to abuse it’s the muck-spreader. Consequently finding a good second-hand one is s tricky task. Nick Fone gets some expert advice on rear-discharge machines.
If you’re serious about shifting significant volumes of muck it’s pretty widely recognised that a rear-discharge spreader is the machine for the job.
Until recently, the big rear-discharge spreader had been the preserve of contractors and large farms. Now though, those machines which have done their time with the big boys are filtering through to the second-hand market.
With some 2,000 machines working across the UK and Europe, Bucks-based K-Two is one of the main players in the spreader game.
“With our standard vertical beater Duo models we would be amongst the top three manufacturers in the UK,” says K-Two’s Paul Kelloway.
“But to maintain that position we need to offer our customers a good deal when the come to trade in their old machines. To shift a new model a deal has to be done on a used version and so we take in spreaders on a part-ex basis and give them a full re-furb at our factory before putting them up for sale.
“Our name is built on the reliability of our kit and so we can’t risk putting second-hand machines back out into the market that we’ve got any doubt about.”
Used spreaders coming into the yard get a thorough checking over and any areas for attention are identified. Generally it’ll be bearings, oil-leaks, chains and slats that need to be rectified and often they’ll get a respray before going up on the company’s website for sale.
There’s a big park of machines of varying ages in varying condition at the firm’s HQ near Aylesbury. We got some tips and tricks from K-Two service manager Stewart Freeman.
1. Hitch wear
Without an hour-clock on a spreader there’s no conclusive means of telling how much work it has done. The best guide is to look at the hitch ring to get an indication of the amount of time it has spent on the back of a tractor.
2. Chain tension
Take a look at the threaded chain-tensioners at the front of the spreader bed to see how far they are wound out and how much adjustment they have left in them. Wind them right out and then climb inside, grab hold of the bed chains and lift them to see how much slack there is.
You shouldn’t be able to raise them more than 100mm (4in) off the bed. If it’s more than that then you’re going to need to remove links.
It’s a simple enough task. Find the joiner links, un-bolt them and then cut out two or four links (it should never be an odd number as this will cause the chain to twist). Duos of 10t or 12t will start out life with 22 slats and 230 links.
Look at the spacing between the slats either side of the joiner links. Originally this would have been 10 links.
Count the slats. If there is one missing then the previous owner has had to cut out a serious length of chain to get tension – a good indicator that they’ll shortly need replacing.
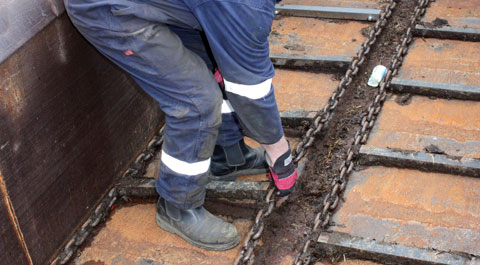
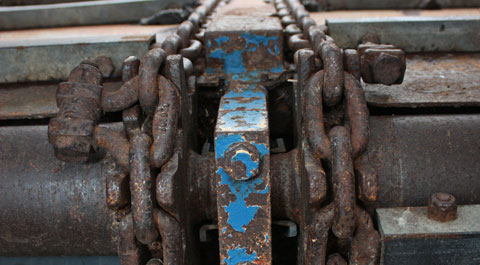
3. Chain wear
With the tensioners set correctly, look along the length of the body. The chain links should sit proudly upright, like a row of terracotta warriors. If they look more like a bunch of post-siesta banditos lazily listing to one side then the chains have probably done their time.
Chain wear tends to correspond with sprocket wear so it’s usually necessary to replace all four at the same time as you pull out the shaft to swap it for a new one. Price is £500 for each 230-link length.
4. Drive sprockets
Go around to the back of the machine and look carefully at where the chains run through the drive sprockets on the rear cross-shaft. The pair of teeth at the top dead-centre will be the ones carrying all the tension.
Look at the position of the link on the teeth. If it rides up more than halfway then there’s likely to be a groove worn at this point. Over time that will get higher and higher as the teeth wear, with the result that the chain will start to skip off with increasing regularity.
Once the link groove gets beyond halfway up the teeth then it’s time to consider replacing the sprockets. The cost is £90 per sprocket.
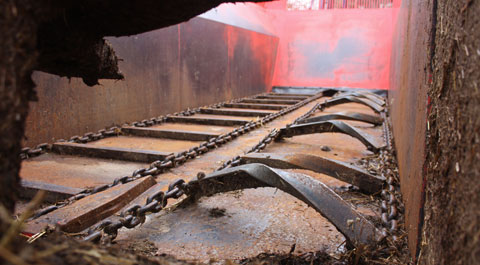
5. Bed and slats
Get inside the body and check the condition of the bed. It’s not the end of the world if it’s wearing thin. A couple of sheets of 3mm sheet steel will set you back about £200 and can easily be slipped in over the top of the existing floor.
Puddle welding is the order of the day – to glue it down properly cut a dozen or so 75mm (3in) slots with the disc cutter to correspond with the body cross-members and fill them with molten metal. Then weld right round the edge of each sheet.
The slats need to run flush with the bed so check they’re completely flat. Lumps of concrete are the usual suspects for damage and can write off an entire set if the bed’s not stopped quickly enough. Replacement cost can be £115 each.
6. Beaters
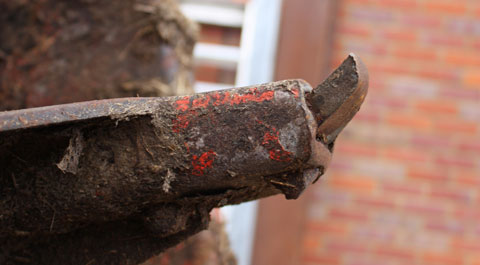
The vertical toothed beaters bear the brunt of any abuse and really suffer if fed an unsuitable diet. If there are miles of twine wrapped around the beaters, that’s a good indication that the machine hasn’t been particularly well looked after.
Check for bent tooth carriers and worn rotor flights. The tips are reversible but this needs to have been done before the carriers are worn. Standard galvanised replacements cost £7 each. Full Boron versions will set you back £9.
7. Bearings
The outer bed bearings are standard flange BB units so if grease comes out between the outer casing and the race that’s a good indication that they’re on the way out. Cost is about £100 for the pair.
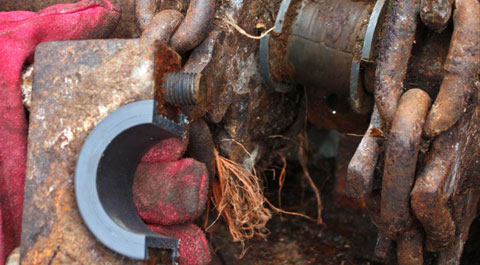
In the centre of the rear cross shaft is a nylon bush that needs inspecting for excessive wear. If it’s left longer then the shaft comes under excessive load and can begin to distort. The bush costs just £35 and it’s a simple job to change it.
To check for wear in the upper beater bearings, get a tyre lever in underneath each rotor to check for vertical play. Some suffer cracks in the castings when they’ve swallowed something they shouldn’t have. Replacements cost £45.
To get an idea of the condition of the lower bearings carried in the top of the main gearbox, grasp the base of each beater and give it a good waggle to check for fore-aft slop. If these need to be replaced then it’ll take three to four hours to drop the gearbox and do the job. A full gearbox repair kit costs £250.
8. Beater Gearbox
If the seals in the top of the gearbox aren’t changed when they fail, they can provide a route for muck and water to get in and contaminate the whole three-piece gearbox.
Drop the sump plug and if something similar to chocolate blancmange slithers out then that’s likely to have been the issue.
The plug needs to be regularly tightened because it can be dislodged when the spreader bottoms out in ruts. It’s an expensive £2,000 mistake if the gearbox runs dry.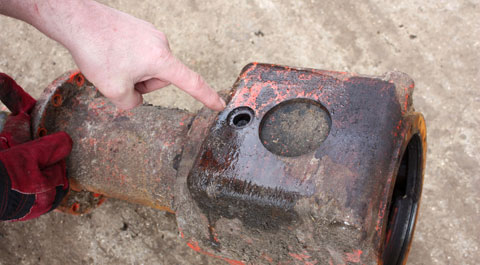
9. Bed-drive gearbox
Look for cracks in the gearbox mounting. These can indicate a bent bed-drive shaft that has flexed as it rotates and put strain on the box.
The best way to spot this is to set the bed running. If the gearbox gyrates like a belly-dancer then the shaft has been bent and will need replacing.
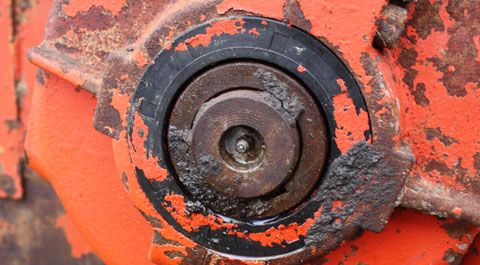
The output shaft seals take a lot of load and it isn’t unusual to find they seep even when stationary. It’s necessary to pull the gearbox of the shaft to replace them – a 1-hour job. At £10, the seals themselves aren’t expensive, though.
9. Slurry door
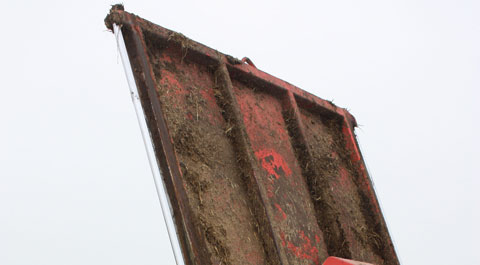
Check the door slides up and down it its runners smoothly and isn’t bent or cracked. Inspect the ram shafts for damage from flying stones.
Generally a linisher or a piece of fine emery cloth will sort out most issues to the point where new seals won’t suffer as a result. New seals cost £32.
11. Running gear
Grab hold of one of the tyres and rock the spreader from side to side. There should be a bit of wobble but anything excessive accompanied by a bit of clacking probably means the wheel bearing pre-load has worn off.
12. Brakes
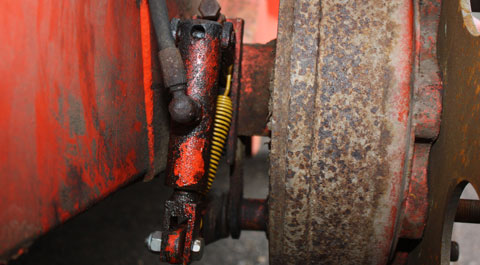
Get underneath the spreader and then ask someone else to pump the brakes. It’s not unusual for them to be seized. Often return springs are broken so the ram doesn’t retract but at £120 each that’s no big issue to rectify.
13. PTO
If the spreader has a wide-angle pto shaft then it may well want attention. Couple it up to the tractor and check for slop in the ball-and-socket joint. If there is more than 3-4mm of play on a 1000rpm machine then it will need a new centre section at approximately £300.
A complete new shaft from K-Two will be £500. 540rpm machines can tolerate a bit more slop in the shaft.
14. Beater driveline
Get under the body of the spreader and give the main drive-shaft a few flicks of the wrist to make sure the over-run clutches engage. If they skip they might just need greasing.
Here are some example prices for second-hand spreaders straight from farm and what they would retail at following a full K-Two refurb:
What to pay for a K-Two rear discharge spreader
| Year | Size | Extras | Condition | Price |
|---|---|---|---|---|
| 2002 | 12t | Greedy boards, slurry door, wide angle pto, 520mm tyres |
Poor Recon |
£8,500-£9,000 £14,000-£15,000 |
| 2008 | 10t | Slurry door, 18.4/34 tyres |
Poor Recon |
£4,000-£5,000 £8,500-£9,000 |
| 2010 | 14t | Sprung drawbar, 580mm tyres, wide angle pto, weigh cells (add £3000 to the price) | Good | £18,000-£20,000 |
6t, 7t and 8t machines are much harder to find and will therefore fetch similar money as a 10-tonner.

